I have a friend who doesn't eat leftovers. Yeah, I don't get it either. He has a (much appreciated) habit of inviting people over to his house, making a crazy amount of amazing food, and then sending us home with to-go containers at the end of the evening. Once, as he was shooing us out of his house after handing each person a jar of arroz con pollo, I weakly asked him why he didn't want to keep any food for himself. He shrugged and said, "I just don't eat leftovers." This seemed like a non-answer, but I was feeling very possessive of my jar at that point so I didn't press him further. While I, too, love to cook for others, I've recently come to rely on leftovers as crucial ingredients in weekly dinners. Roasted vegetables, cooked lentils, and grains from previous meals are often added to our frittatas, pastas, and salads, and when we're feeling fancy, galettes.
"Galette" is a French term for a free-form pie, among other things; it can also refer to an open-faced tart or cake, or an open-faced crepe. The great thing about the pie version is that you don't need any random tools or equipment to make one, and they are just as delicious (in my mind) as standard pies and tarts. If you have a cookie sheet, a card table, and a barbecue, you can knock out an amazing galette. And you probably have a cookie sheet, a kitchen counter, and an oven, so you are over-prepared!
If you have made pies, tarts, or galettes before and have a habit of making pie crust from scratch, here is where I wish you well and send you down the page to the recipe. However, if you generally purchase pre-made pie crusts, you may not want to hear me say this, buuuuut, I really think you should be making your own pie crust (and I'm so glad you're on the other side of your computer screen so you can't punch me). In the time that it takes you to go to the store and buy a pre-made crust, you could have made your own and have it chilling in the fridge for you. And when you make your own, you can add all kind of yummy things to make it special, as I like to do in this recipe. But pie dough seems intimidating and time consuming, and I completely understand why. You probably have specific textural end goals (as you should), and you've likely heard people tell you all kinds of things that you absolutely MUST do to make it perfectly flaky and tender!
And now someone else is going to be upset at this next thing I'm going to say, buuuuut, you don't have to follow all of the normal rules to make delicious and flaky pastry. Full disclosure: I made this pastry dough by pinching. the. butter. into. the. dough. with. my. fingers.
!!!
With my fingers! Not a food processor or a pastry blender or two knives but the THINGS that are attached to my HANDS! Sacrilege.
Should you choose to go this heathenish route yourself, a few things will help you along the way. One, make sure your butter is straight-out-of-the-fridge cold when you begin working it into the flour. Two, should you feel your butter heating up and getting a little melty (i.e. soft and oily), throw the whole bowl (butter, flour, and all) into the fridge for five minutes to cool down. If you're working in a moderately cool kitchen, you probably won't need to put the bowl in the fridge at all (and if you have poor circulation, as I do, this will be one of those rare moments when you will find your icy-cold hands useful). Three, take a deep breath, and know that everything is going to be okay. You are making something with butter, flour, and seasoning from scratch, and at worst, it is going to taste pretty freaking delicious.
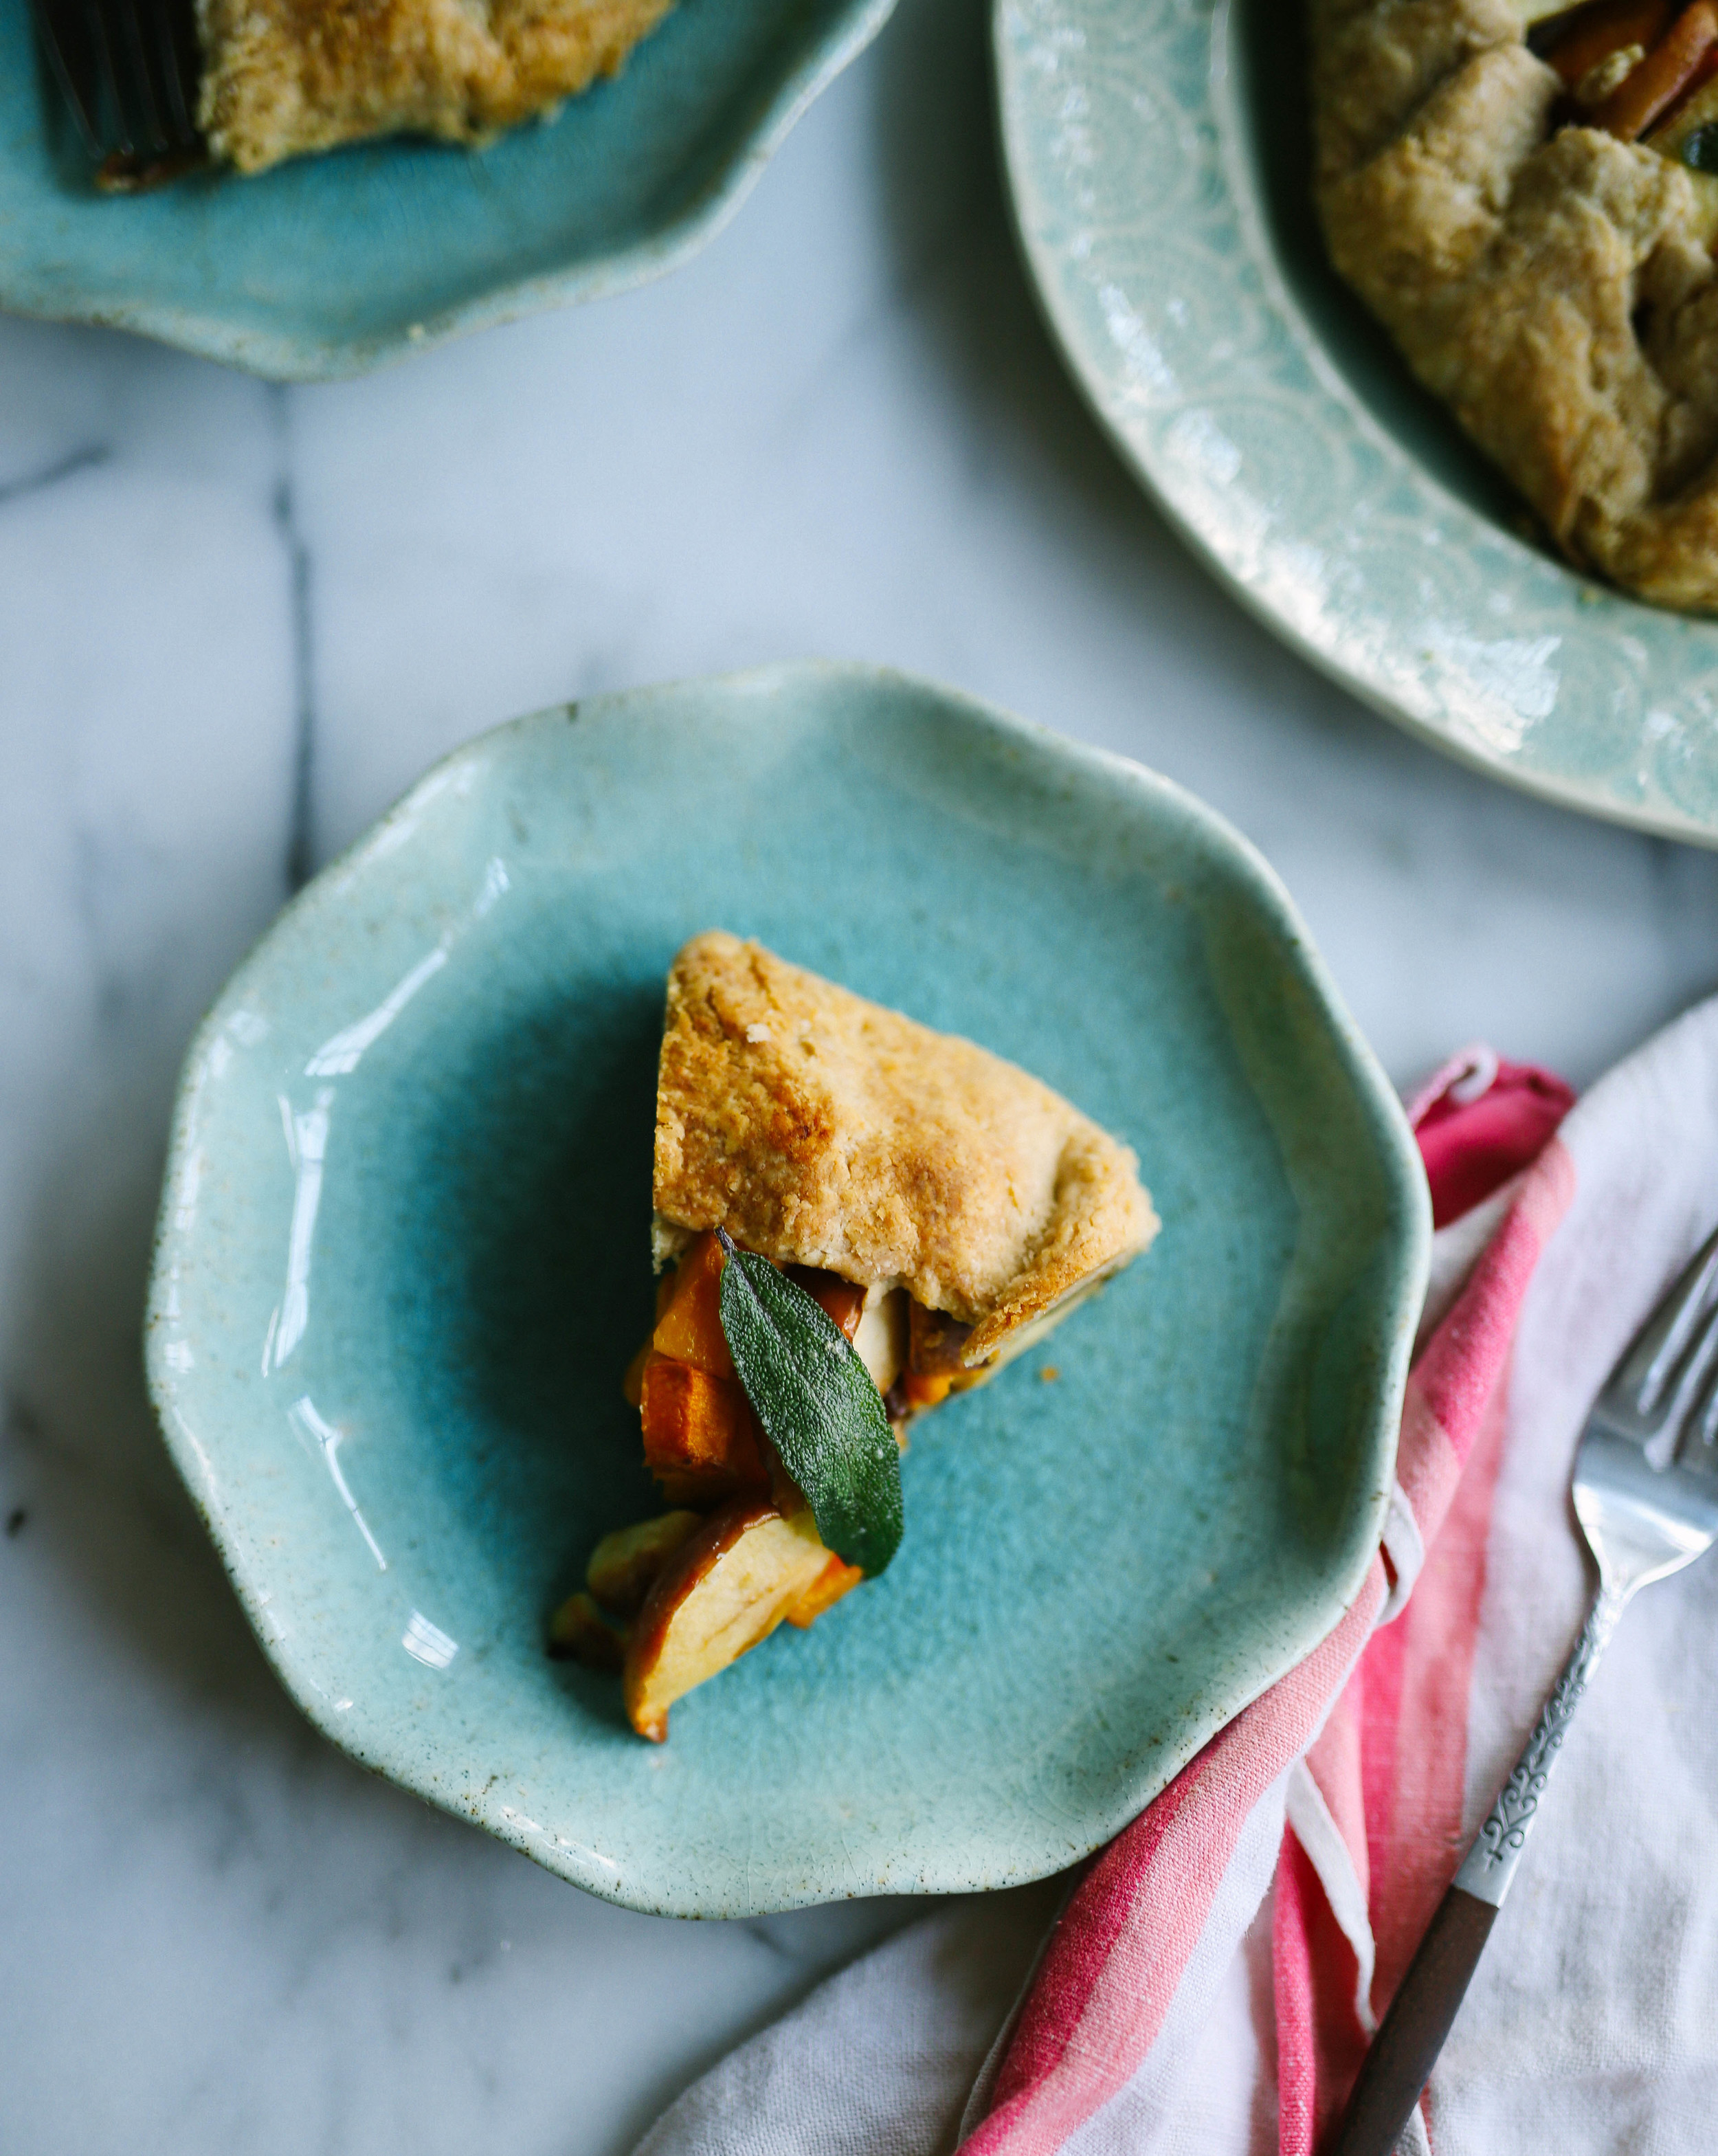
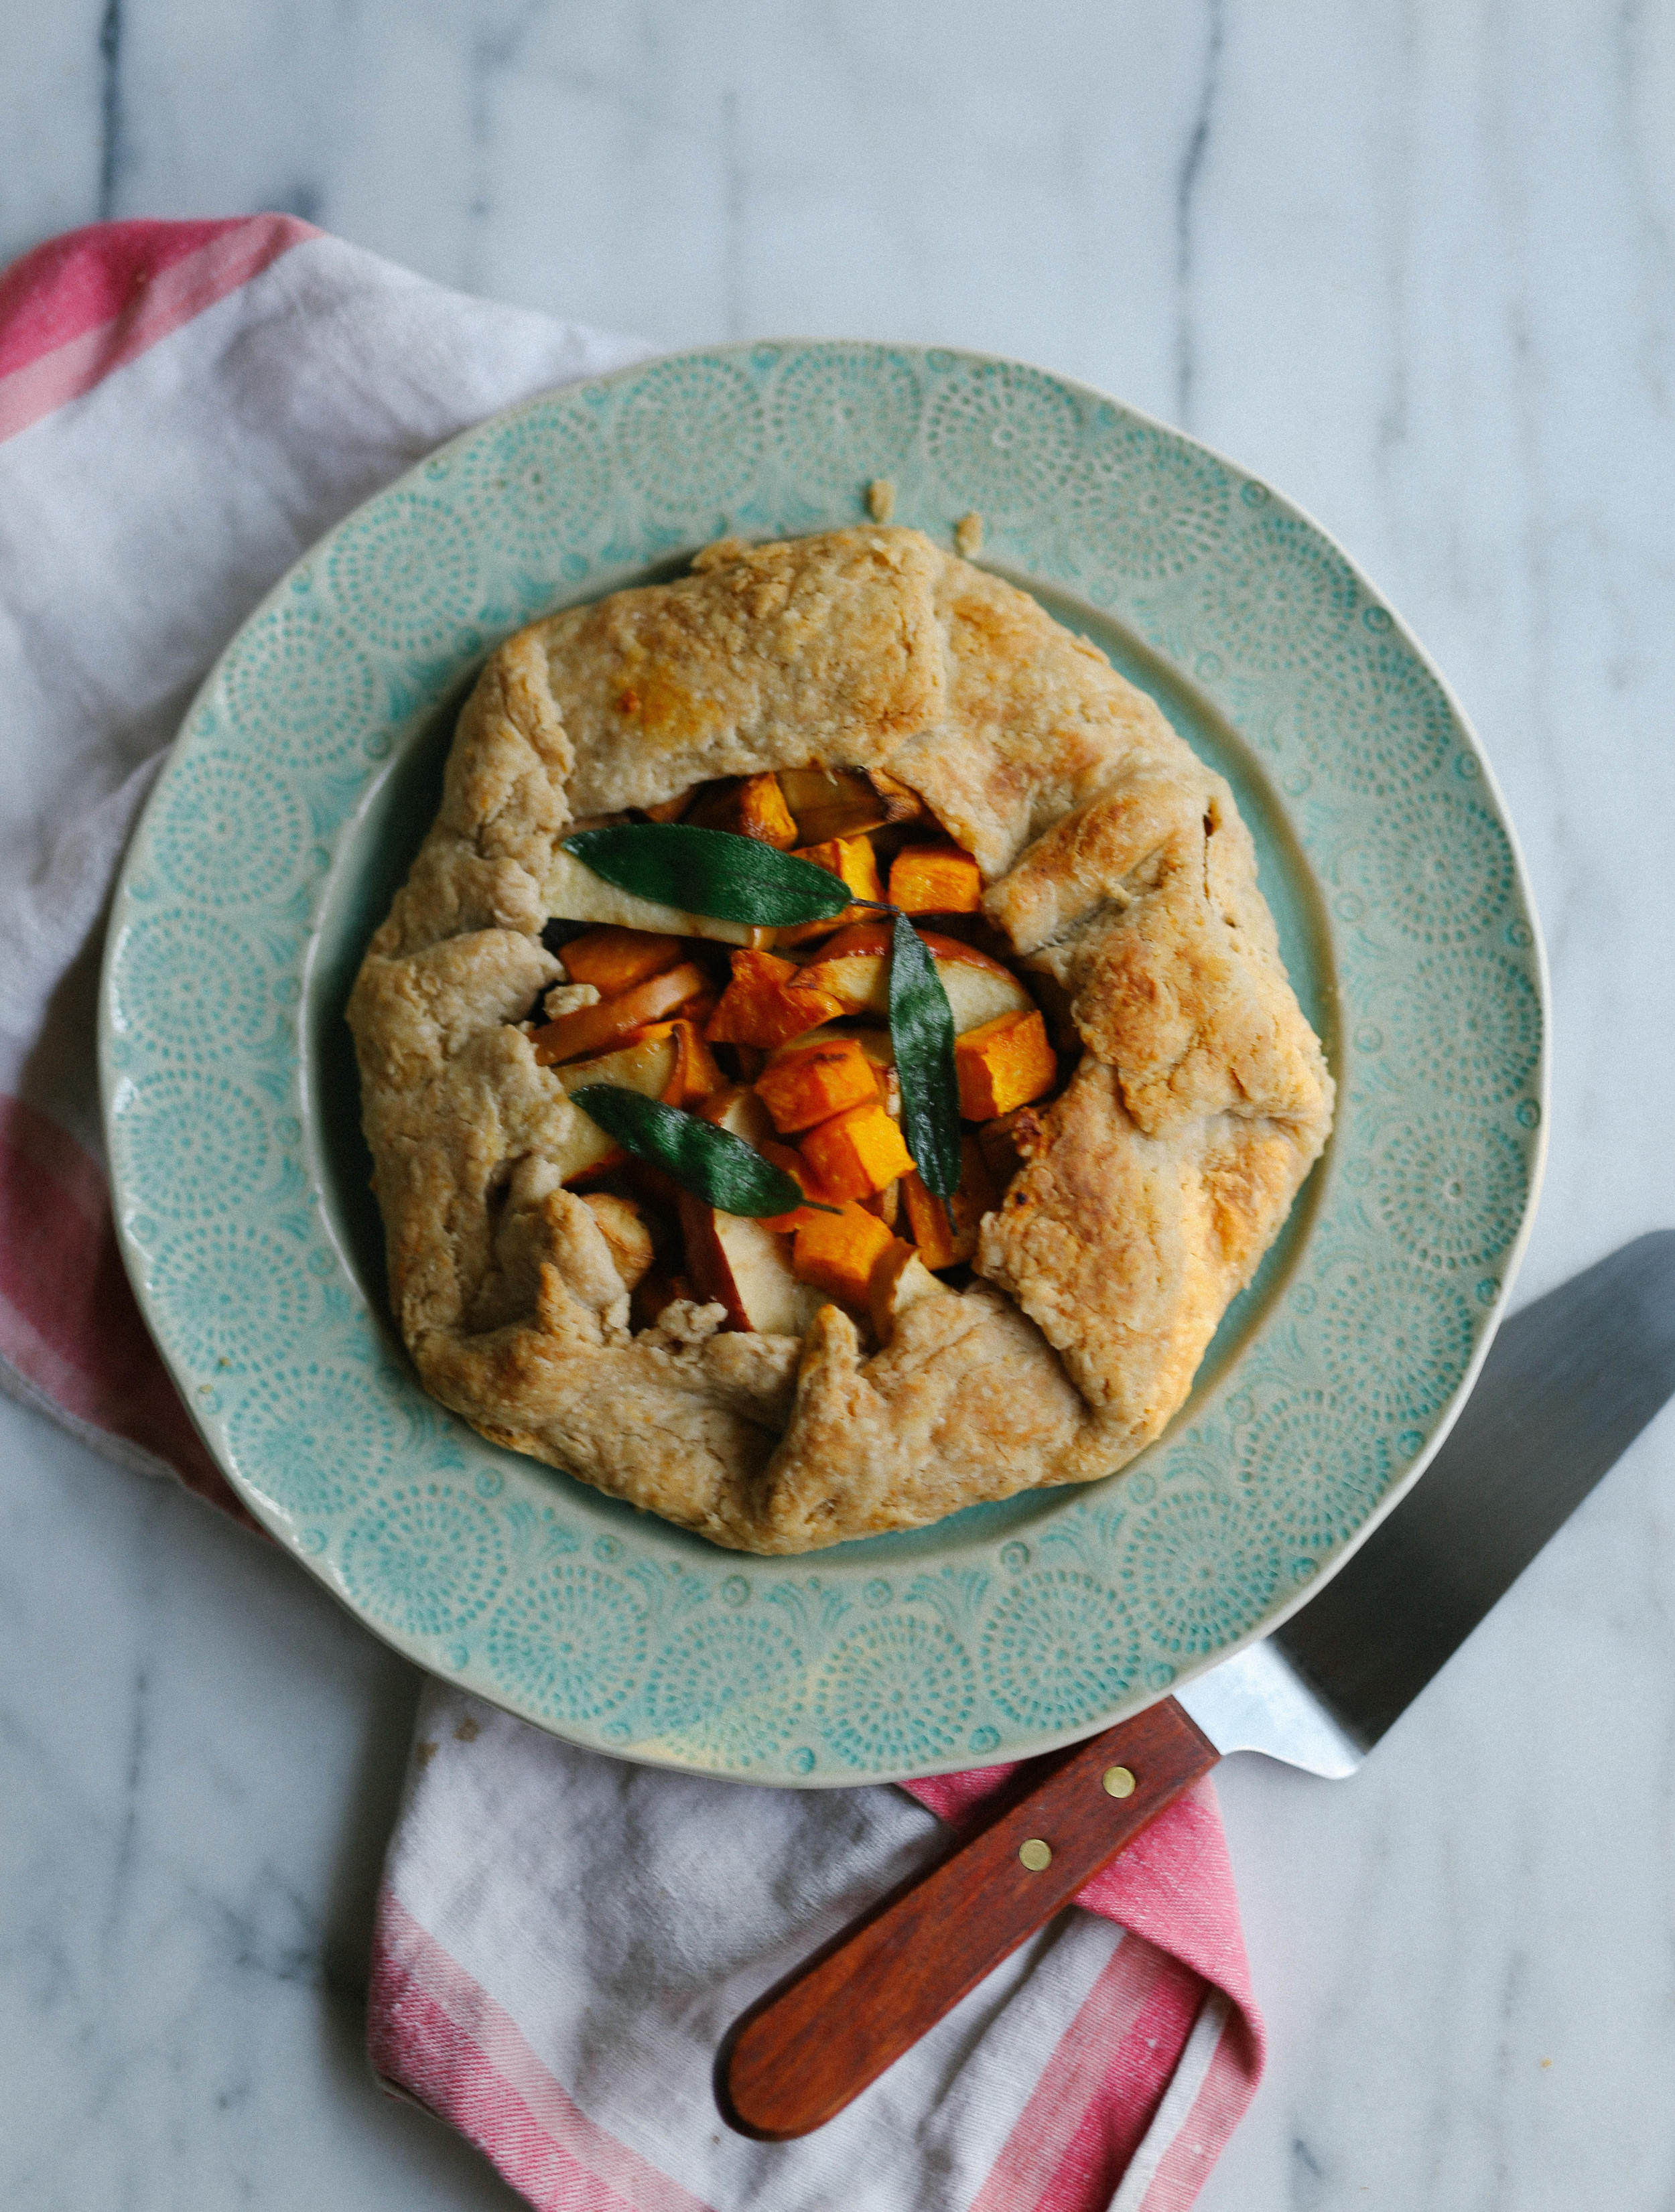
Parsnip, Squash, and Apple Galette with Sage-Onion Jam
There is a lot happening with this recipe, but it is easy to make the components in advance and assemble it just before you're ready to bake; you can easily omit a vegetable and increase another if you aren't a fan of parsnips or squash, though I really like the added sweetness of the apples so I encourage you to keep them in the mix. If you prefer a juicier galette, use an apple variety that breaks down during cooking, such as Golden Delicious; for a richer tart, dot the filling with goat cheese before you fold up the sides of the pastry.
Pastry (base recipe adapted from Thomas Keller; additions inspired by traditional flavorings for gougeres) - makes enough for two galettes, two tarts, or one double-crust pie
2 cups all purpose flour
1/2 cup wheat flour
1 teaspoon kosher salt
1/2 teaspoon freshly grated nutmeg
1/2 teaspoon dry mustard
a few good grinds of black pepper
1/2 cup freshly grated hard cheese, such as Pecorino-Romano (which is what I used) or parmesan 2 1/2 sticks cold butter
5 tablespoons ice water (or possibly more)
Sage-Onion Jam
2 tablespoons butter + 1 teaspoon butter, divided
2 medium yellow onions, thinly sliced from top to tail
Kosher salt
2 teaspoons dark brown sugar
A splash of apple cider vinegar
2 tablespoons freshly chopped sage
Filling
3-4 cups roasted vegetables (such as parsnips, carrots, butternut squash, sweet potatoes, or a mixture; I used parsnips and squash, though I might omit the parsnips next time as their flavor is a bit strong)
1 apple (I used a Fuji, because it was what I had on hand, but use whatever you would like; baking apples, such as Granny Smith, will get softer than Fuji)
2 tablespoons butter, divided
juice of one lemon, divided
fried sage leaves for garnish (make by heating a little butter in a pan and frying the sage leaves until crisp but still green)
Make the pastry: combine the all-purpose flour, wheat flour, kosher salt, nutmeg, dry mustard, black pepper, and grated cheese in a bowl, and whisk to combine. Cut the butter into 1/2-inch pieces and drop into the bowl with the flour (alternatively, you may combine the flour and butter in a food processor). Cut the butter into the flour using a pastry cutter, or pinch the butter into the flour with your fingers, breaking up the butter into smaller pieces as you go (or pulse your food processor a few times to break up the butter into smaller pieces). You should end up with pea-sized (or smaller) nuggets/little smears of butter throughout the flour.
Drizzle the ice water over the butter-flour mixture, and mix (or pulse) to combine. The dough should be crumbly, but should stick together when pinched with your fingers (if it does not stick together, add a little more water, a tablespoon at a time). Press the dough into itself a couple of times while still in the bowl, just until you're sure it is mostly coming together. Turn the dough out onto a work surface, and divide it into two equal (albeit, crumbly) pieces. Press each piece into a flat disk, and wrap both tightly in plastic wrap. Set in the fridge to chill for at least one hour, or up to three days (the dough will be eatable after this point, but the flour may oxidize and become grayish).
Make the sage-onion jam: melt the butter in a heavy-bottomed pan set over medium-low heat. Add the onions, and stir to coat evenly with the melted butter. Add a pinch of salt to let the onions sweat; you want them soften at this point, but not brown. Listen to the onions as they sweat, and if you notice that the sound seems loud, it is likely that your pan is too hot and the onions are beginning to crisp. Stir occasionally so that the onions cook evenly.
Once the onions have softened, add the dark brown sugar and turn up the heat to medium. Let the onions cook, stirring occasionally, so that the sugars caramelize and the onions begin to brown. They will move from pale beige, to golden brown, to a light caramel. Once they reach this light caramel stage, turn up the heat a notch, add the vinegar, and stir to scrape up any onion bits stuck to the pan. Continue cooking the onions until they reach a deep caramel color.
Scoot the onions to one side of the pan, and melt the teaspoon of butter in the empty space in the pan. Add the sage to the melted butter, keeping it separate from the onions while it cooks. Once it has crisped and the color has changed to a dark, muted green (this will take about a minute), mix the sage into the onion mixture. Cook for a minute or two more, stirring frequently, then remove from the pan and let cool. Scrape the mixture out onto a cutting board, and run your knife through it a couple of times (this will make the mixture less stringy and more jammy). Taste and add additional salt if needed. Set aside, or refrigerate in a covered container for up to 1 week.
To fill and shape the tarts: preheat the oven to 375 degrees F, and line a baking sheet with parchment paper. Remove the pastry disks from the fridge, and let sit, still wrapped, at room temperature for 10-20 minutes. Unwrap one disk, and place it on a lightly floured work surface. Roll the pastry into a 1/8" thick circle, and transfer to one side of the parchment lined baking sheet.
Slice the apple into pieces, and set aside. Spread half of the sage-onion jam in the middle of the pastry round, leaving a 2-inch border of bare pastry. Mound half of the roasted vegetables on the jam, and tuck half of the apple slices among the vegetables. Fold the pastry up and over the vegetables, overlapping the folds so that there are no places where the filling can escape. Once the pastry is all folded, press around the tart gently to seal the pastry folds. Gently scoot the galette to one side of the pan to make sure there is enough room for the second galette. Repeat with the second pastry disk and remaining vegetables and jam.
Once both galettes are filled, cut one tablespoon of butter into pieces and scatter over the top of both tarts. Sprinkle the exposed vegetables and apples with the lemon juice. Bake at 375-degrees for 15 minutes, then lower the heat to 350 and bake for another 10-20 minutes, or until the pastry is fully cooked and golden brown. Top with the fried sage leaves, and serve warm or at room temperature with a green salad. You may also refrigerate the tart for up to two days;let it come to room temperature, or rewarm it in a 300-degree oven for 10-15 minutes before serving.