FIELD & FOREST

rosemary

rosemary biscuits + blood orange shortcakes

breakfast, desserts, sweet, vegetarian, winterRachel SandersComment

So my best laid plan to get these biscuits + shortcakes to you for Valentine's Day was a bust. I had grand visions of breakfast in bed with coffee and artfully plated shortcakes for my own Sunday celebration, but in reality, I nuked a tortilla and wrapped it around some avocado slices and then went skiing with Richard. Ha! Oh well.

I think sometimes there's a little too much pressure to do something grand for Valentine's Day. And it's not really worth it to make everything perfect and photogenic and complicated if it keeps you from being relaxed and having fun and spending quality time with your significant other/best friend/dog/chickens/self. Plus, I like breakfast-in-bed stuff all of the time, not just on Valentine's Day!

So I'm here to say that I hope you had a lovely and wonderful Sunday holiday morning, no matter what you ended up doing, and offer you a fabulous little breakfast idea for the next time you want to express "hey, I like you!" sentiments to someone important in your life. Especially if that someone is yourself.

4J5A0185.jpg

I have made these biscuits so many times that the cookbook containing the recipe falls open to the biscuit page each time I take it out of the bookshelf. They are Heidi Swanson's biscuits, and they are amazing. We mix up the flour proportions and types sometimes, but we're pretty committed to putting yogurt in our biscuits at this point.

Here's the low-down on choosing your yogurt for this recipe: a) tangier is better, in our minds, because it makes a more flavorful biscuit, b) Greek yogurt makes for taller, more layered biscuits, while a more liquid yogurt means flatter, but still very tender biscuits, and c) any (plain) yogurt you have on hand is perfect for this recipe, because it will make for delicious biscuits no matter their height.

I used a fairly liquid, goat's milk yogurt for the biscuits pictured here. You don't have to use goat's milk yogurt (it's just something we keep around most of the time), but I think a thinner biscuit is better for shortcake purposes, since you get a higher ratio of cream and fruit to biscuit.

In case you are wondering, no, I have never tried making these with a non-dairy yogurt. They could be great! They could be awful! Who can say! I'll let you experiment with this.

Makes 10-12 biscuits/shortcakes

You should feel free to experiment with these biscuits to take them further toward sweet or savory. You can brush them with a little cream or milk and sprinkle them with Turbinado sugar to give them a sweet, crunchy top. You can also change the herbs depending on how you plan to serve the biscuits, or omit them altogether.


For the biscuits:

1 1/4 cups whole wheat pastry flour
1 1/4 cups unbleached all-purpose flour, plus more as needed for dusting
3 teaspoons kosher salt (or 1 1/2 teaspoons table salt)
1 tablespoon aluminum-free baking powder
1 1/2 tablespoons chopped fresh rosemary (or more or less, depending on how much you like rosemary
1/2 cup unsalted butter, chilled and cut into tiny cubes
1 1/3 cups yogurt (again, Greek for higher, more layered biscuits; more liquid for shorter, tender biscuits)


Preheat the oven to 450˚F and place a rack in the center of the oven. Line a baking sheet with parchment paper and set aside.

Combine the flours, salt, baking powder, and rosemary in the bowl of a food processor, and pulse 2-3 times to mix. Sprinkle the cubes of butter over the dry ingredients and pulse 15-20 times (or more) until the mixture resembles (in Heidi's words) "tiny pebbles on a sandy beach."

Add the yogurt and pulse a few more times until just incorporated. Avoid over-mixing, as this will toughen the biscuits.

Gather the dough into a ball and turn out onto a lightly floured surface. Gently press the dough together, kneading 2-3 times if necessary, and shape it into an inch-thick square. Cut in half and place one half on top of the other. Flatten with your hands or with a rolling pin into another inch-thick square, cut in half, and stack again. Repeat each step one more time, then press the dough into a 3/4-inch thick rectangle. Cut the dough into 10-12 equally sized biscuits.

Transfer the biscuits to the baking sheet, leaving 1/2-inch of space between each biscuit. Bake for 15-20 minutes, until the bottoms are deeply golden and the biscuits are cooked through.

Scroll down for notes on making/plating the shortcakes.

Serves 2


Split the biscuits and place each bottom on a plate. Spoon the yogurt cream evenly over the two biscuit bottoms. Arrange the blood orange slices over the cream, and drizzle with honey. Pick some rosemary leaves from the springs and tuck in among the orange slices. Angle the biscuit tops over the shortcakes so that much of the fruit and yogurt is visible. Serve immediately and tuck in! 

2 rosemary biscuits
Yogurt cream (enough to serve 2 = 1/4 cup cream whipped with 1/4 cup yogurt and 1/4 teaspoon vanilla)
2-3 blood oranges, peeled, seeded, and sliced
Honey
1-2 rosemary sprigs


beans with garlic, rosemary, and aleppo pepper

dinner, lunch, vegan, vegetarian, winter, autumnRachel SandersComment

Gah, my mouth starts watering whenever I think of these beans. These look innocuous, but they are heady with garlic and deeply savory with rosemary and pepper flakes. I sometimes can't believe how good they are considering that they're made with things that are usually just lying around! Pure magic.

The beans pictured here are Good Mother Stallard beans from Rancho Gordo. I love how these beans plump up when you cook them and how densely creamy they are on the inside, but you can make this with any cooked beans or canned beans you have around. You could simply add them to the oil with the garlic and cook until they're heated through, but I like taking them a little further so that some become golden and a little crispy on the outside. That's when things really start to get good.

After that, you can remove them from the heat and serve them straight from the pan as is, or give them another pinch of flaky salt and a squeeze of lemon for a bit of a lift (which is highly recommended!). If you can't stop eating them, then you know you've achieved perfection.

serves 2-4 as a side

This recipe easily scales up, but I wouldn't bother scaling it down, as the beans make fantastic leftovers when added to pasta or salads, or served with eggs. You can even make a slice of toast, top it with a few slices of avocado, add the beans and a fried egg and have a very respectable breakfast or brunch dish.

How to simply cook dried beans: place your beans in a large bowl and soak them overnight in plenty of cold water. Drain and rinse your beans to remove any grit, and put them in a large pot with plenty of cold water and a single bay leaf. Bring the water and beans to a boil, reduce heat to low, and cover, cooking until the beans are no longer mealy and taste creamy, but not so long that they turn to mush (I start checking my beans 30-45 minutes after they started cooking, but the timing can vary greatly depending on the age of your beans). Once the beans are cooked, remove from heat, uncover, and let cool in their cooking water (this helps to keep them intact). Use immediately or refrigerate until ready to use.


1/2 pound Good Mother Stallard beans (or other beans that hold their shape once cooked), cooked, OR 2 cans cannellini beans
A generous glug (two tablespoons) olive oil
6-8 cloves garlic (or more, no need to limit yourself!), thinly sliced
2 large sprigs fresh rosemary
1 large pinch aleppo pepper flakes OR 1 small pinch standard red pepper flakes
Flaky salt, to taste
Lemon juice, to taste


In a large, heavy-bottomed skillet, heat the olive oil over medium-low heat until it begins to shimmer and can easily be swirled around the pan. Add the garlic and cook, stirring constantly, for about 30 seconds or until it begins to turn translucent and smells really, really good (don't let it brown here). Add the pepper flakes and rosemary, cook (stirring) for a few more seconds, and then add the beans. Stir everything together, raise heat to medium, and then let cook, stirring occasionally, until the beans are heated through, the garlic is turning golden, and a few of the beans are beginning to turn crispy.

Remove from the heat, strip the leaves from the rosemary, and stir the leaves back into the beans. Finish with a generous pinch of flaky salt and a good squeeze of lemon, and serve immediately.


Note that if you use canned beans, you may have to stir them more gently while cooking, as canned beans have a greater tendency to fall apart when cooked in this way. But beans that have fallen apart make excellent bean mash, which is a lovely thing on its own, so it's not any tragedy should this happen to you.

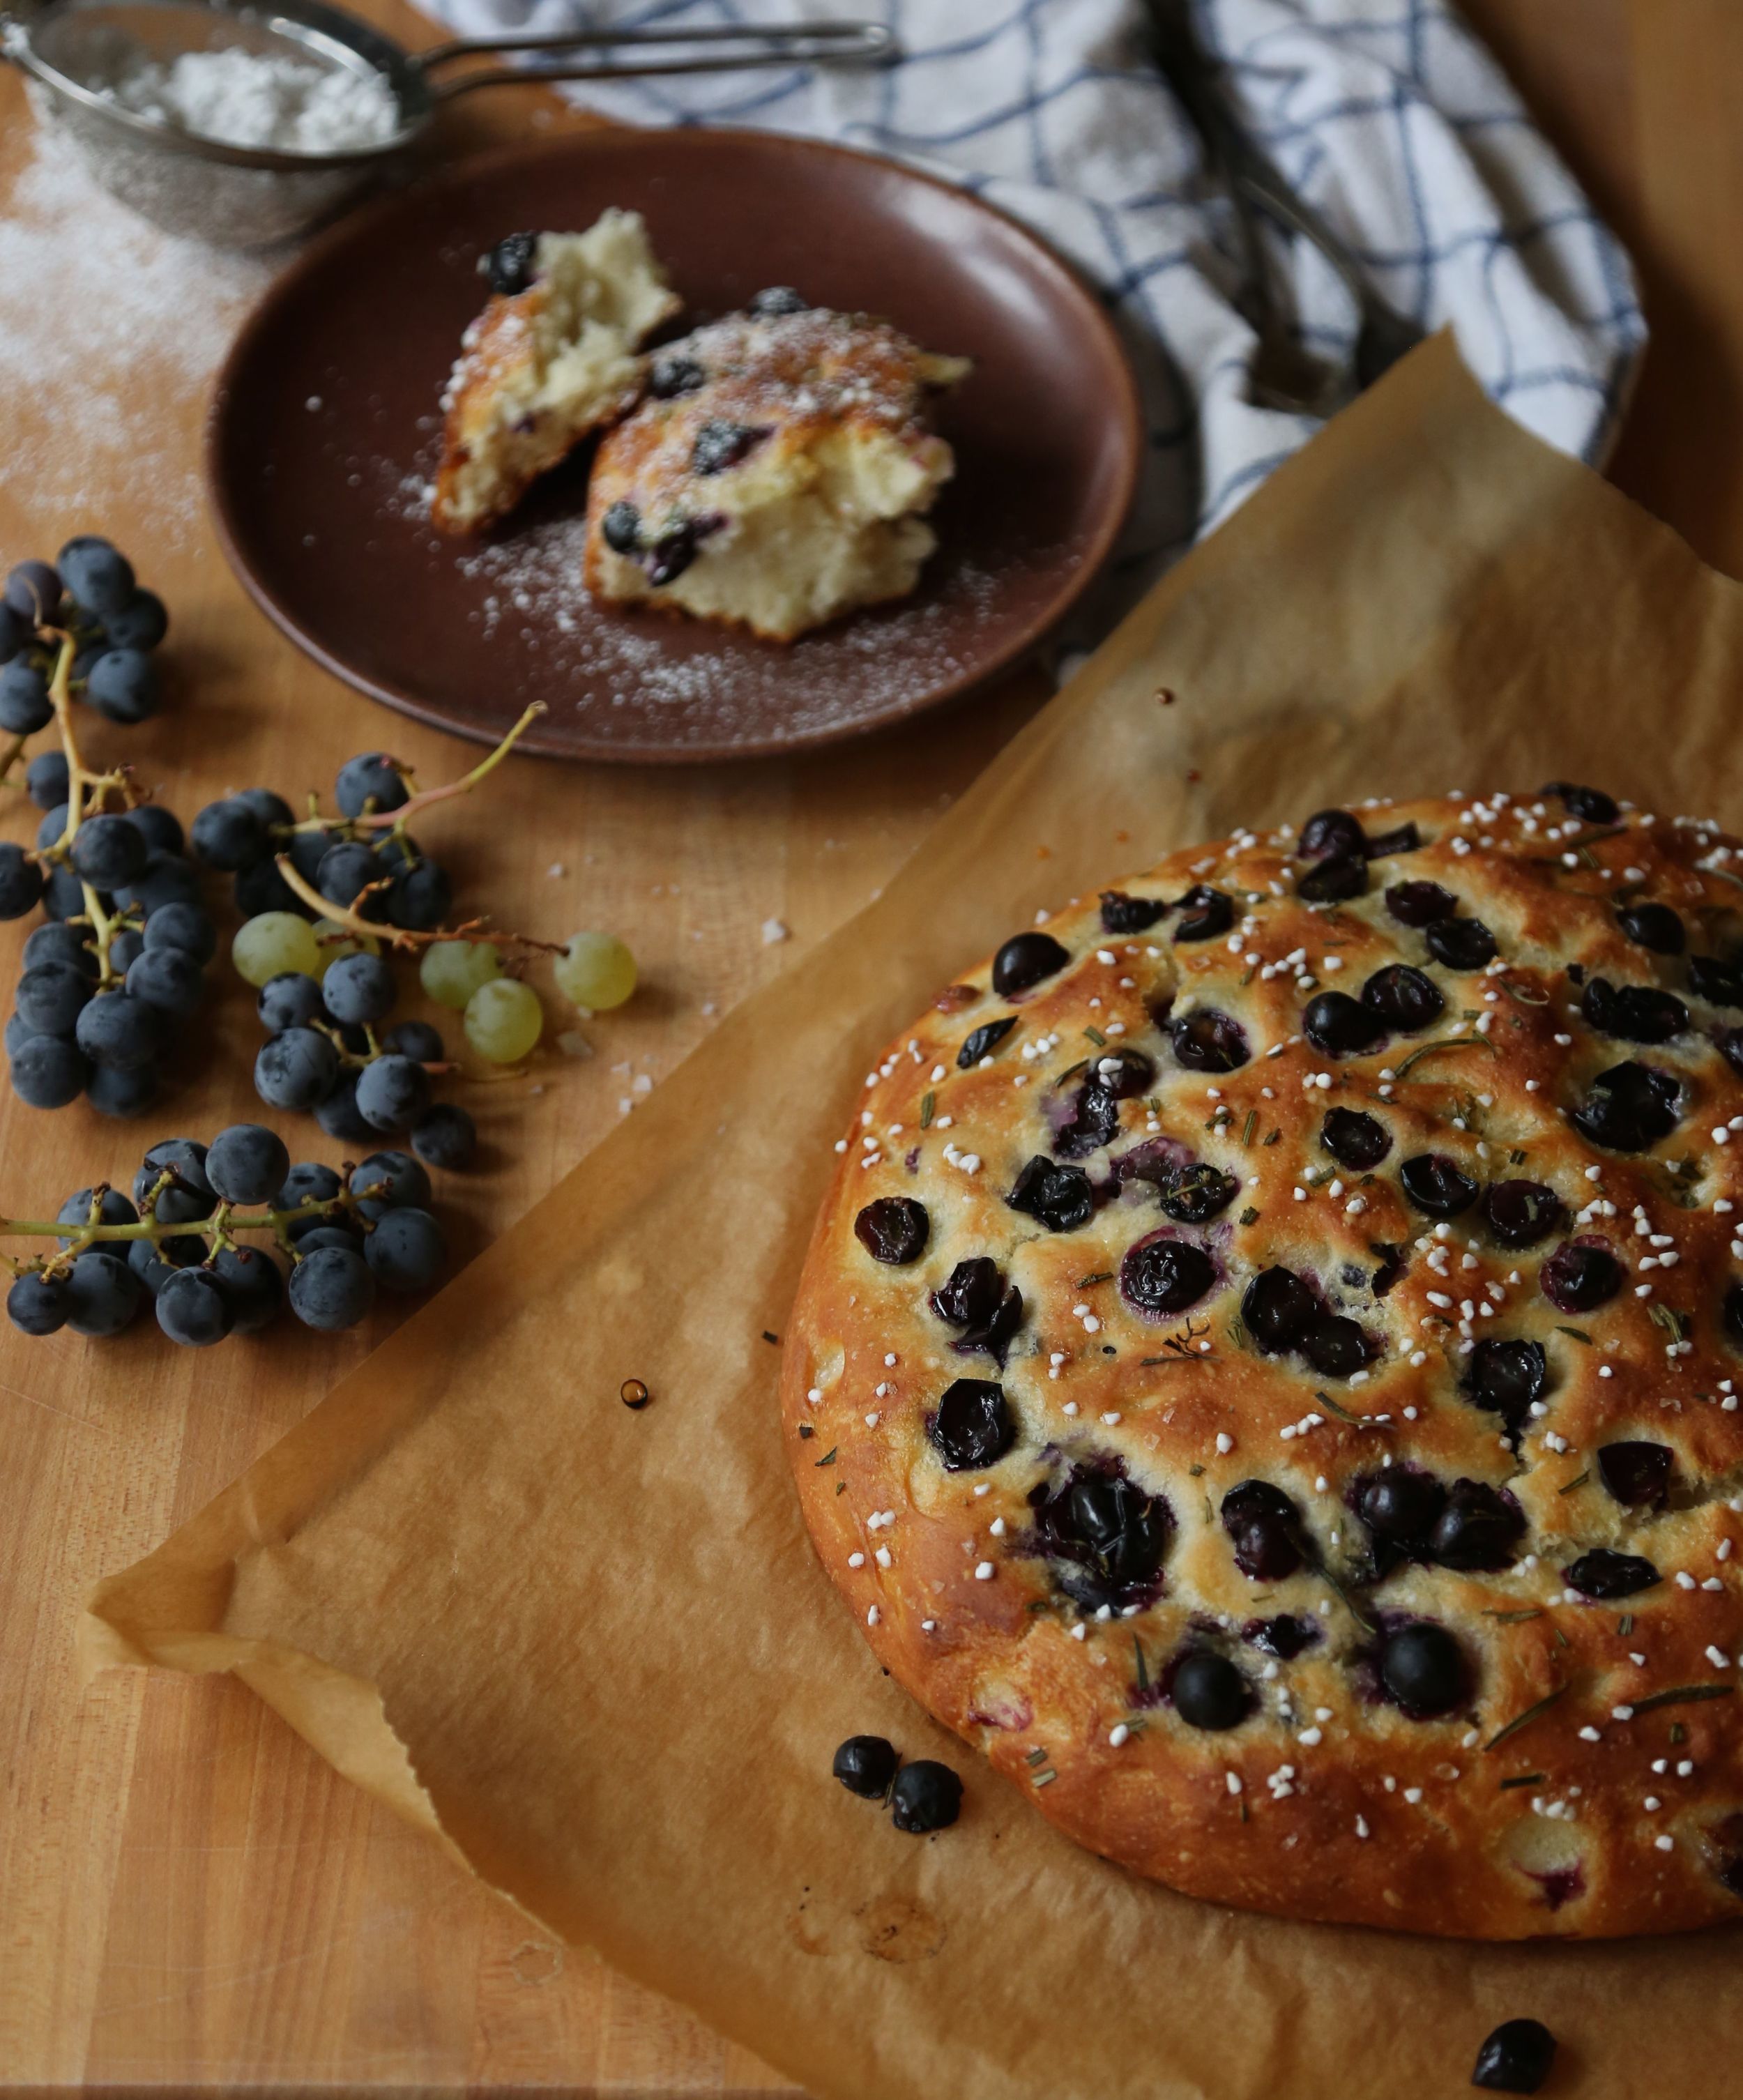
concord grape and rosemary focaccia

autumn, breads, breakfast, desserts, vegetarian, winterFieldandForestComment

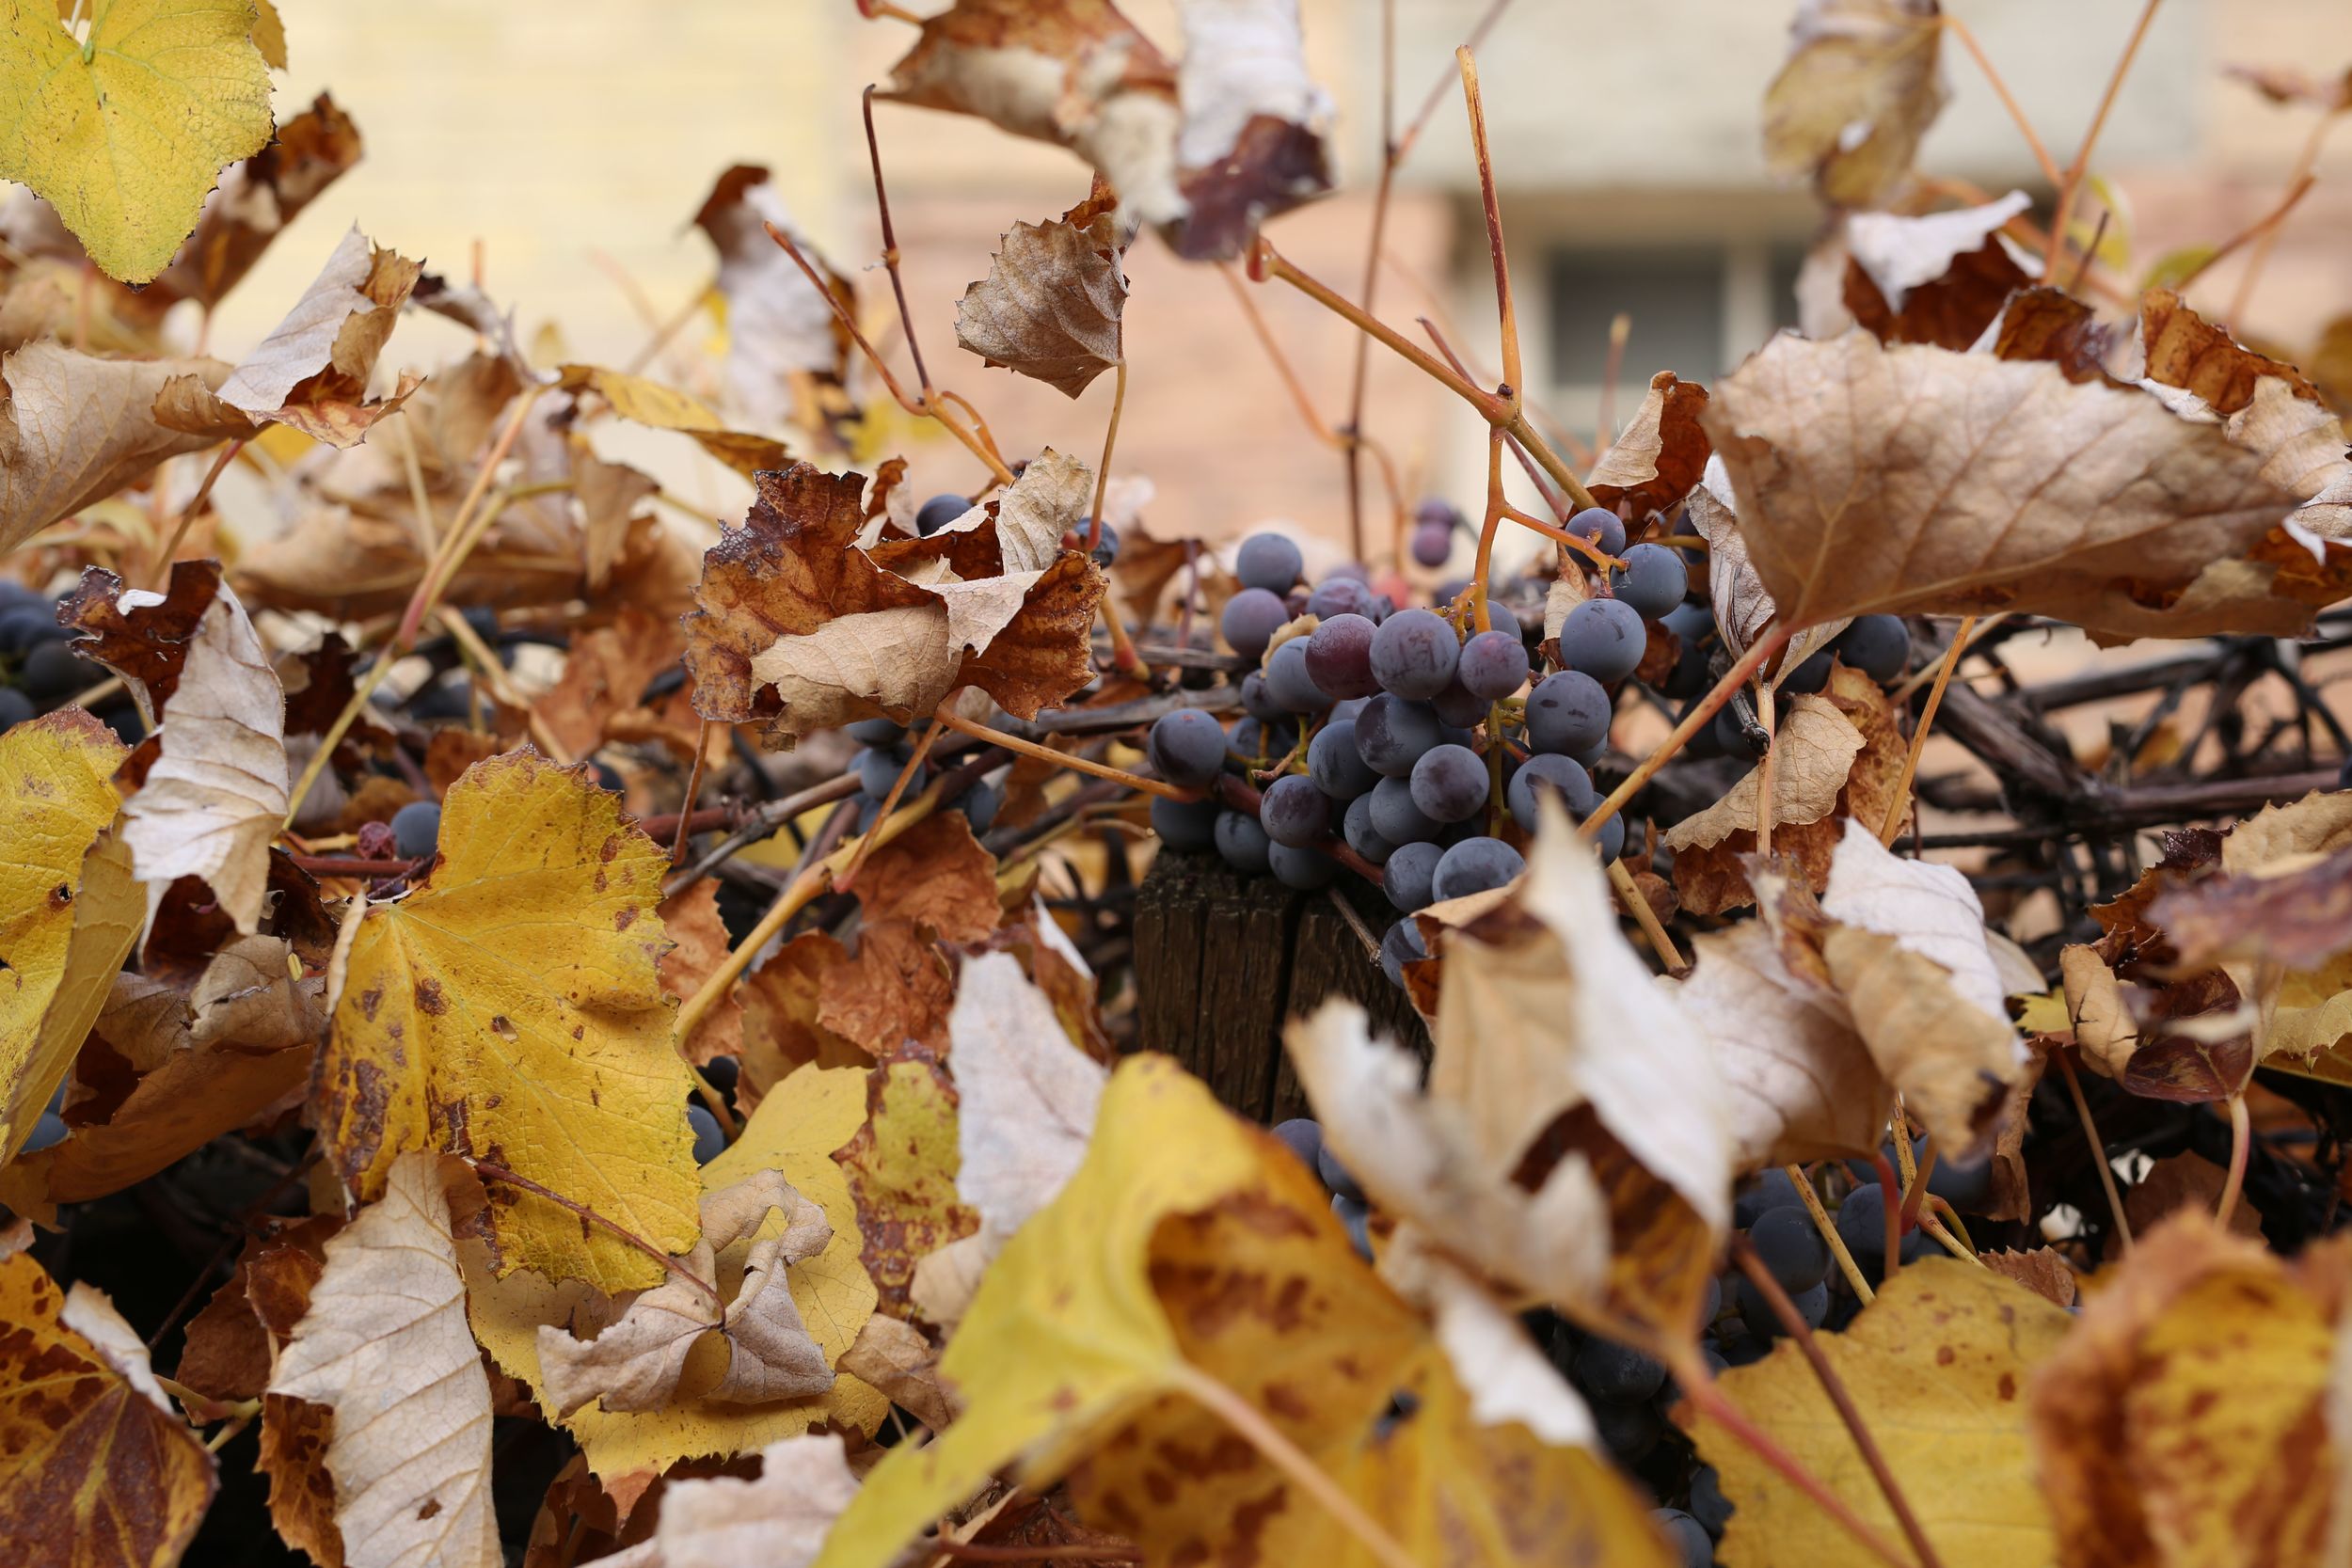
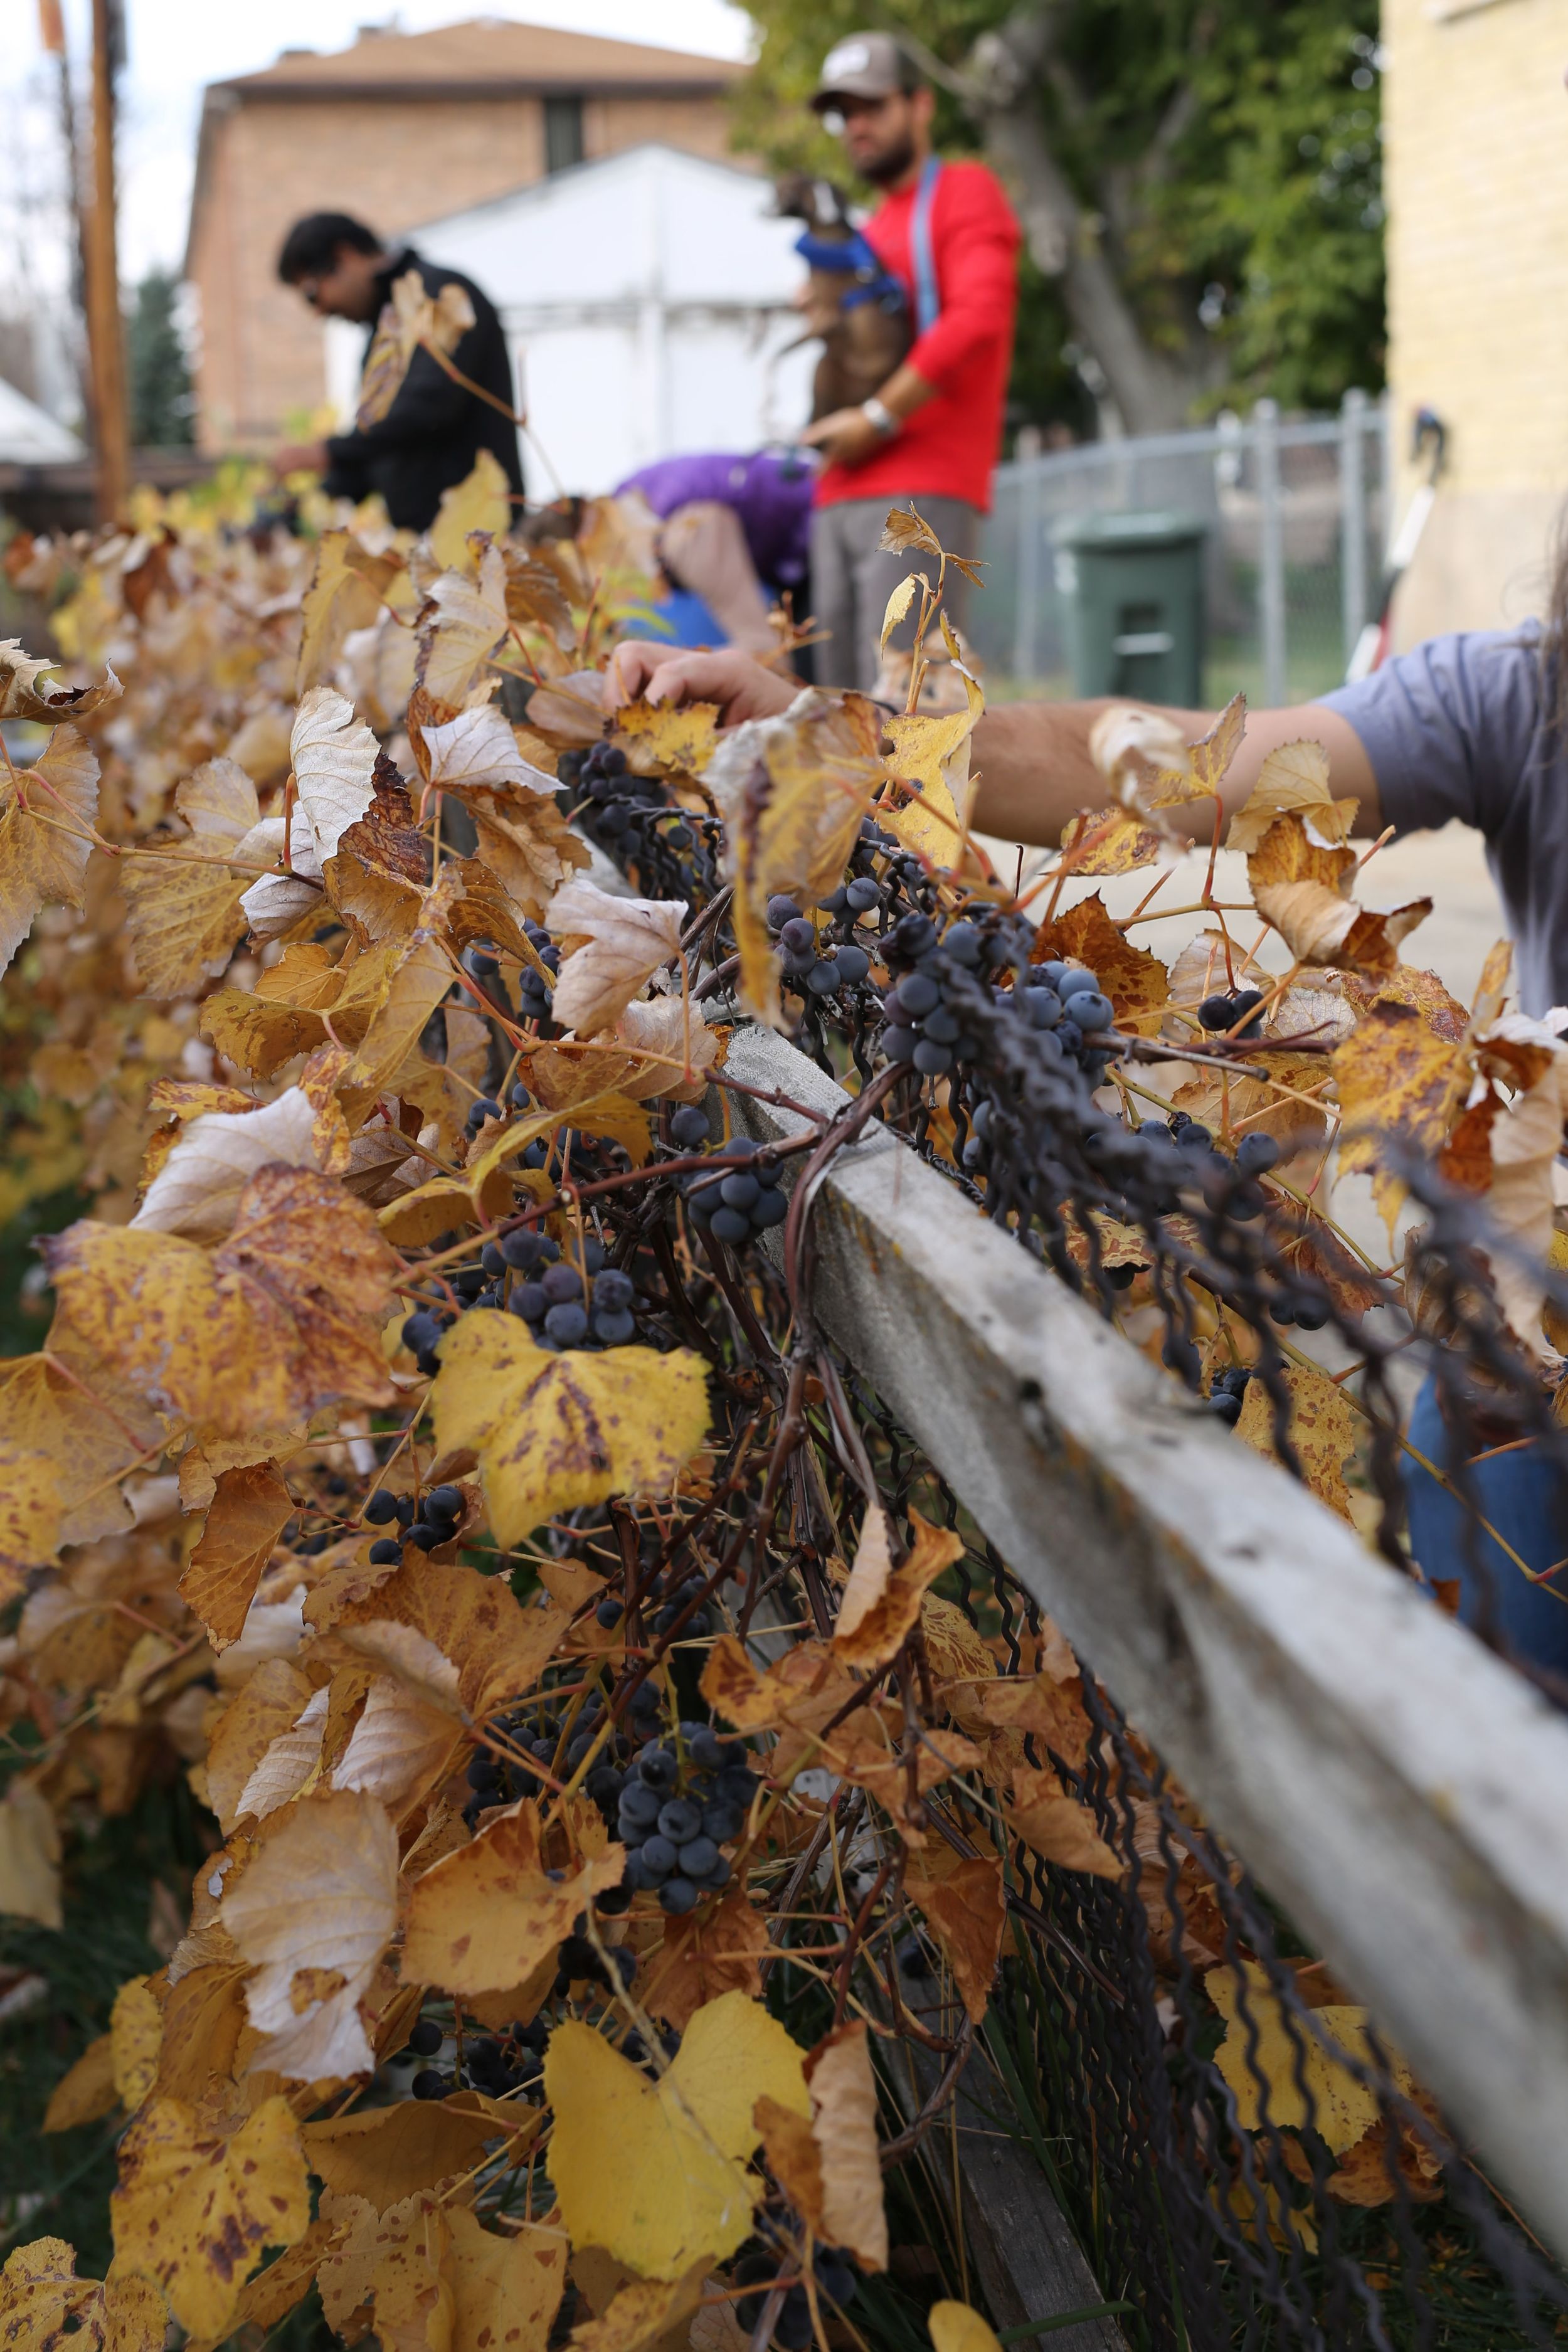
It is rare to walk a block in Salt Lake City without passing a grape vine or two draped over a fence or stealthily climbing a tree. Grapes grow well here, and are one of the first plants to offer an abundance of foliage in the spring. I think, for that reason, they’ve become a popular choice for home gardens since it seems like we’re all starving for something lush and green after months of brown earth and snow. They also produce plenty of fruit, more than most people can consume on their own, which is why some will reach out to the grapeless and invite us to help (and eat). There is now a palpable sense of urgency to rehome fruit since we don’t know when the first snow will arrive; the window for picking some varieties will close following a deep freeze as their skins will crack and burst as their cells expand in the cold.

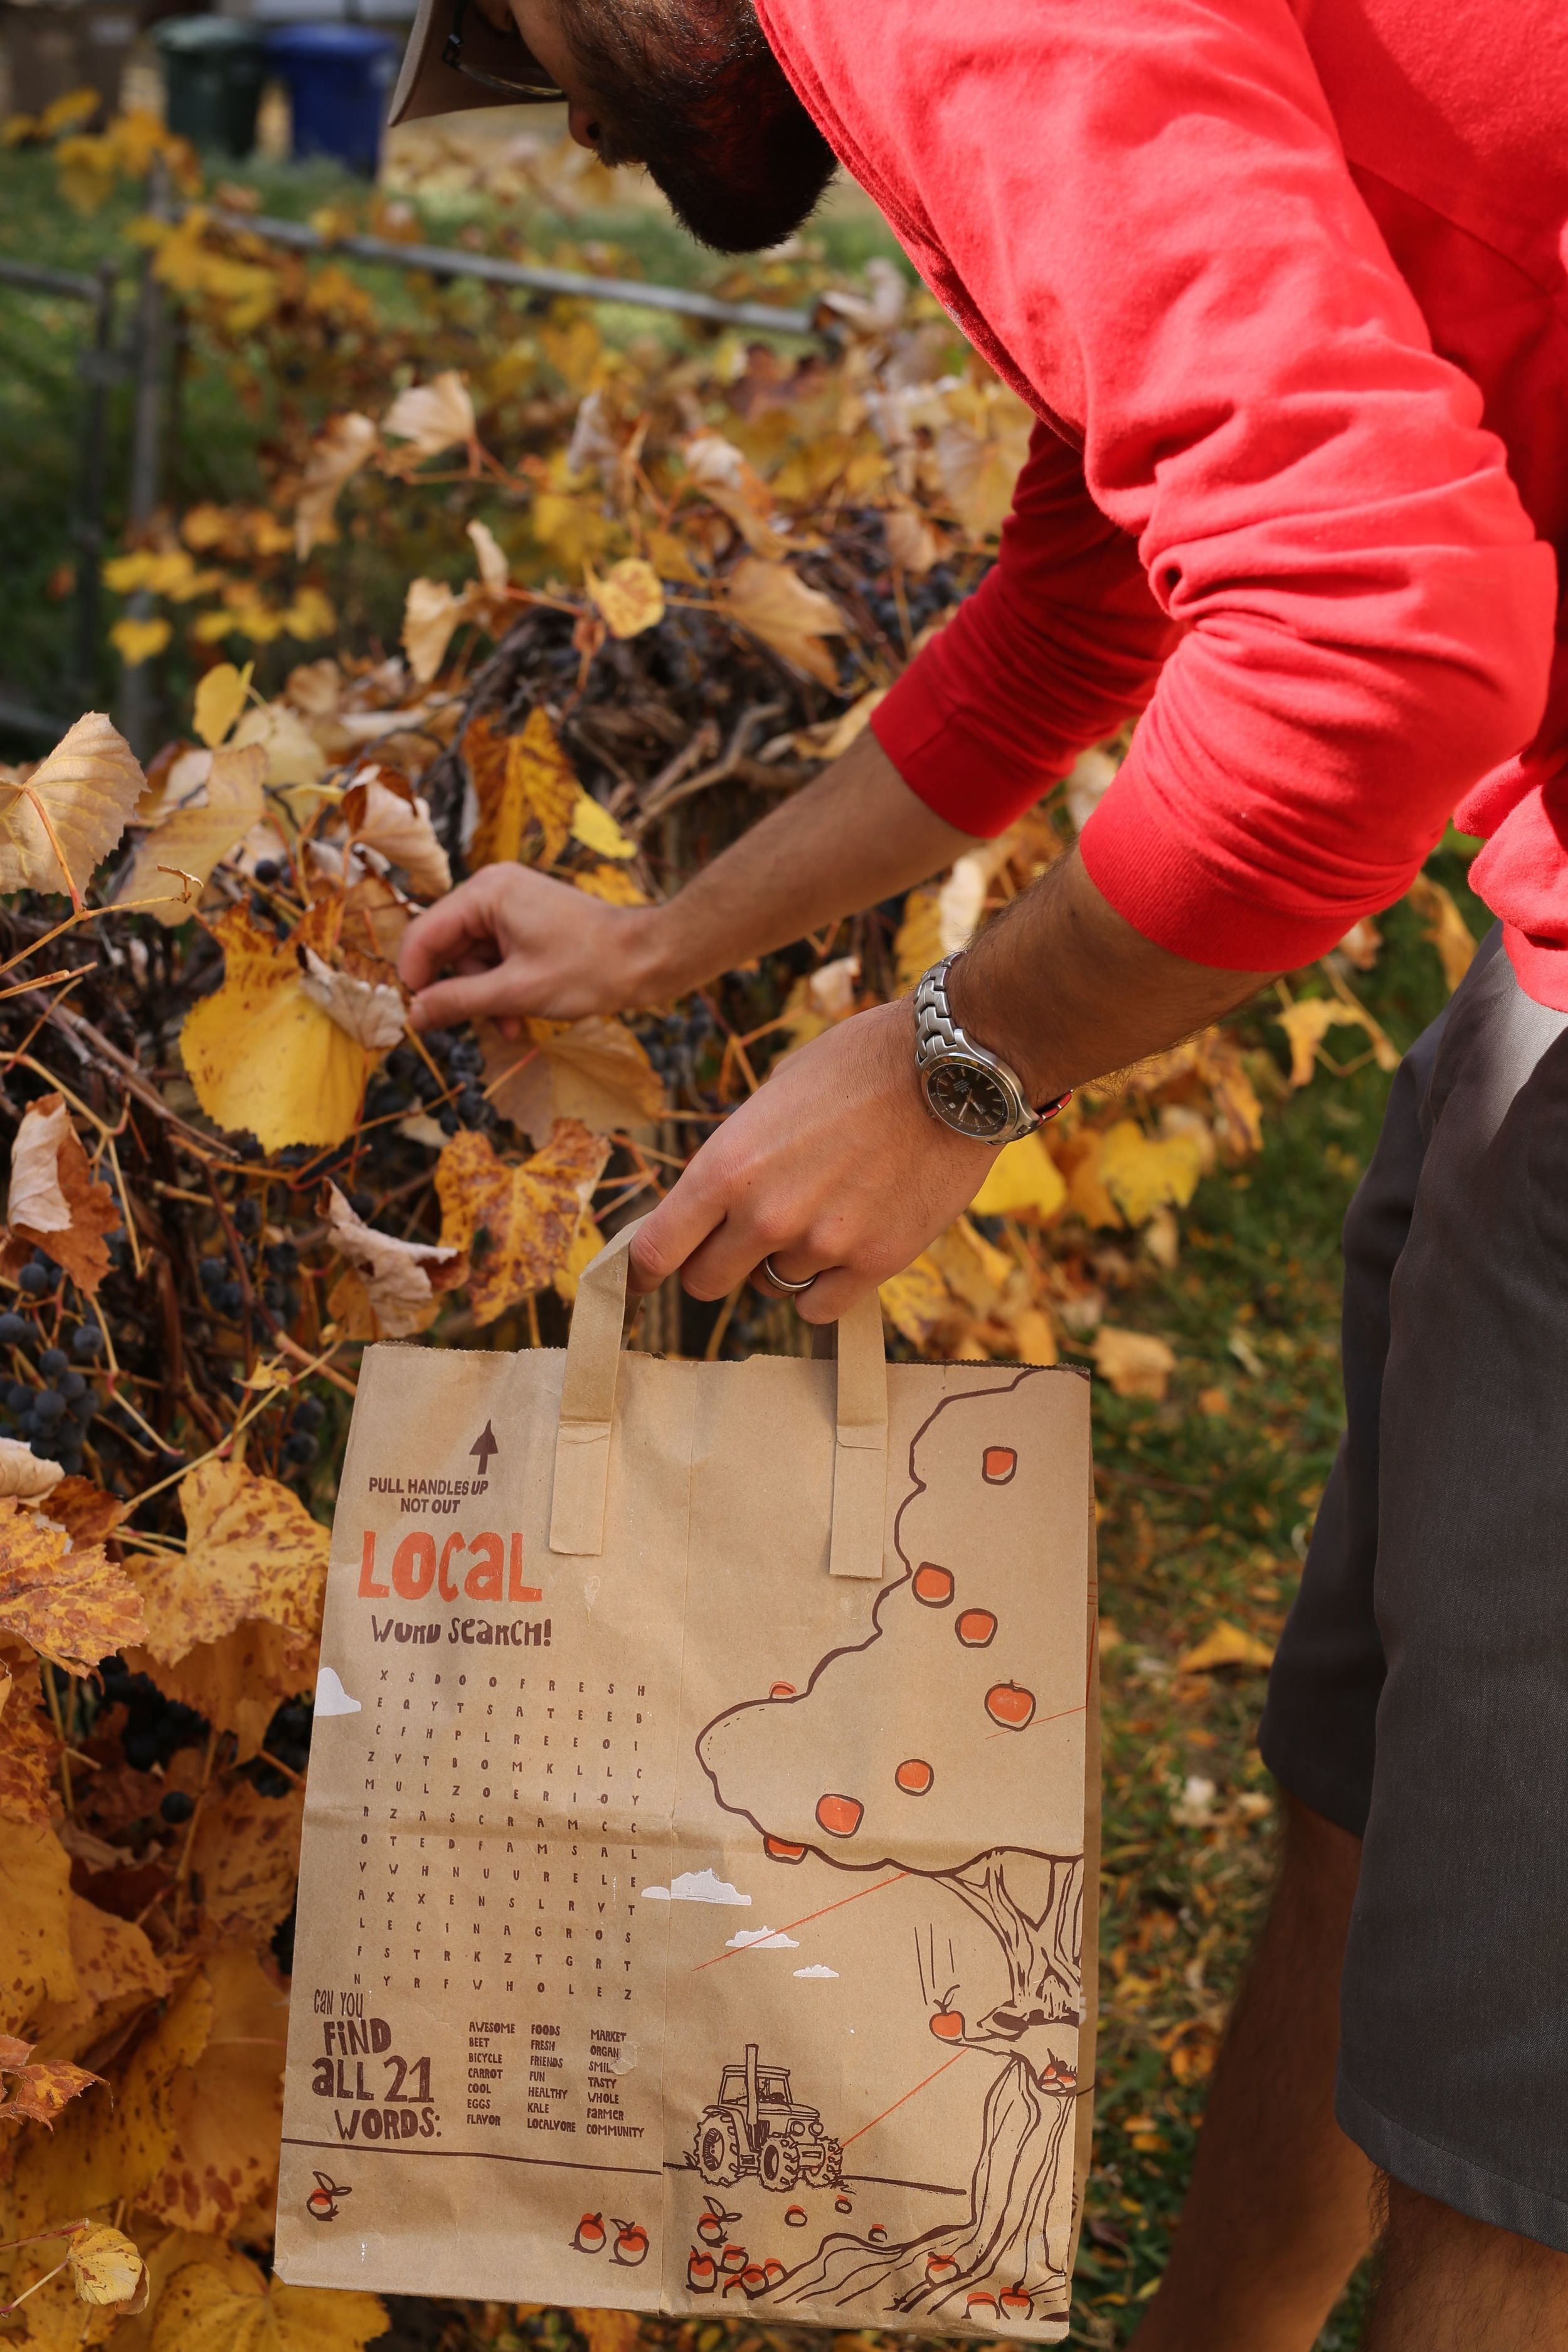
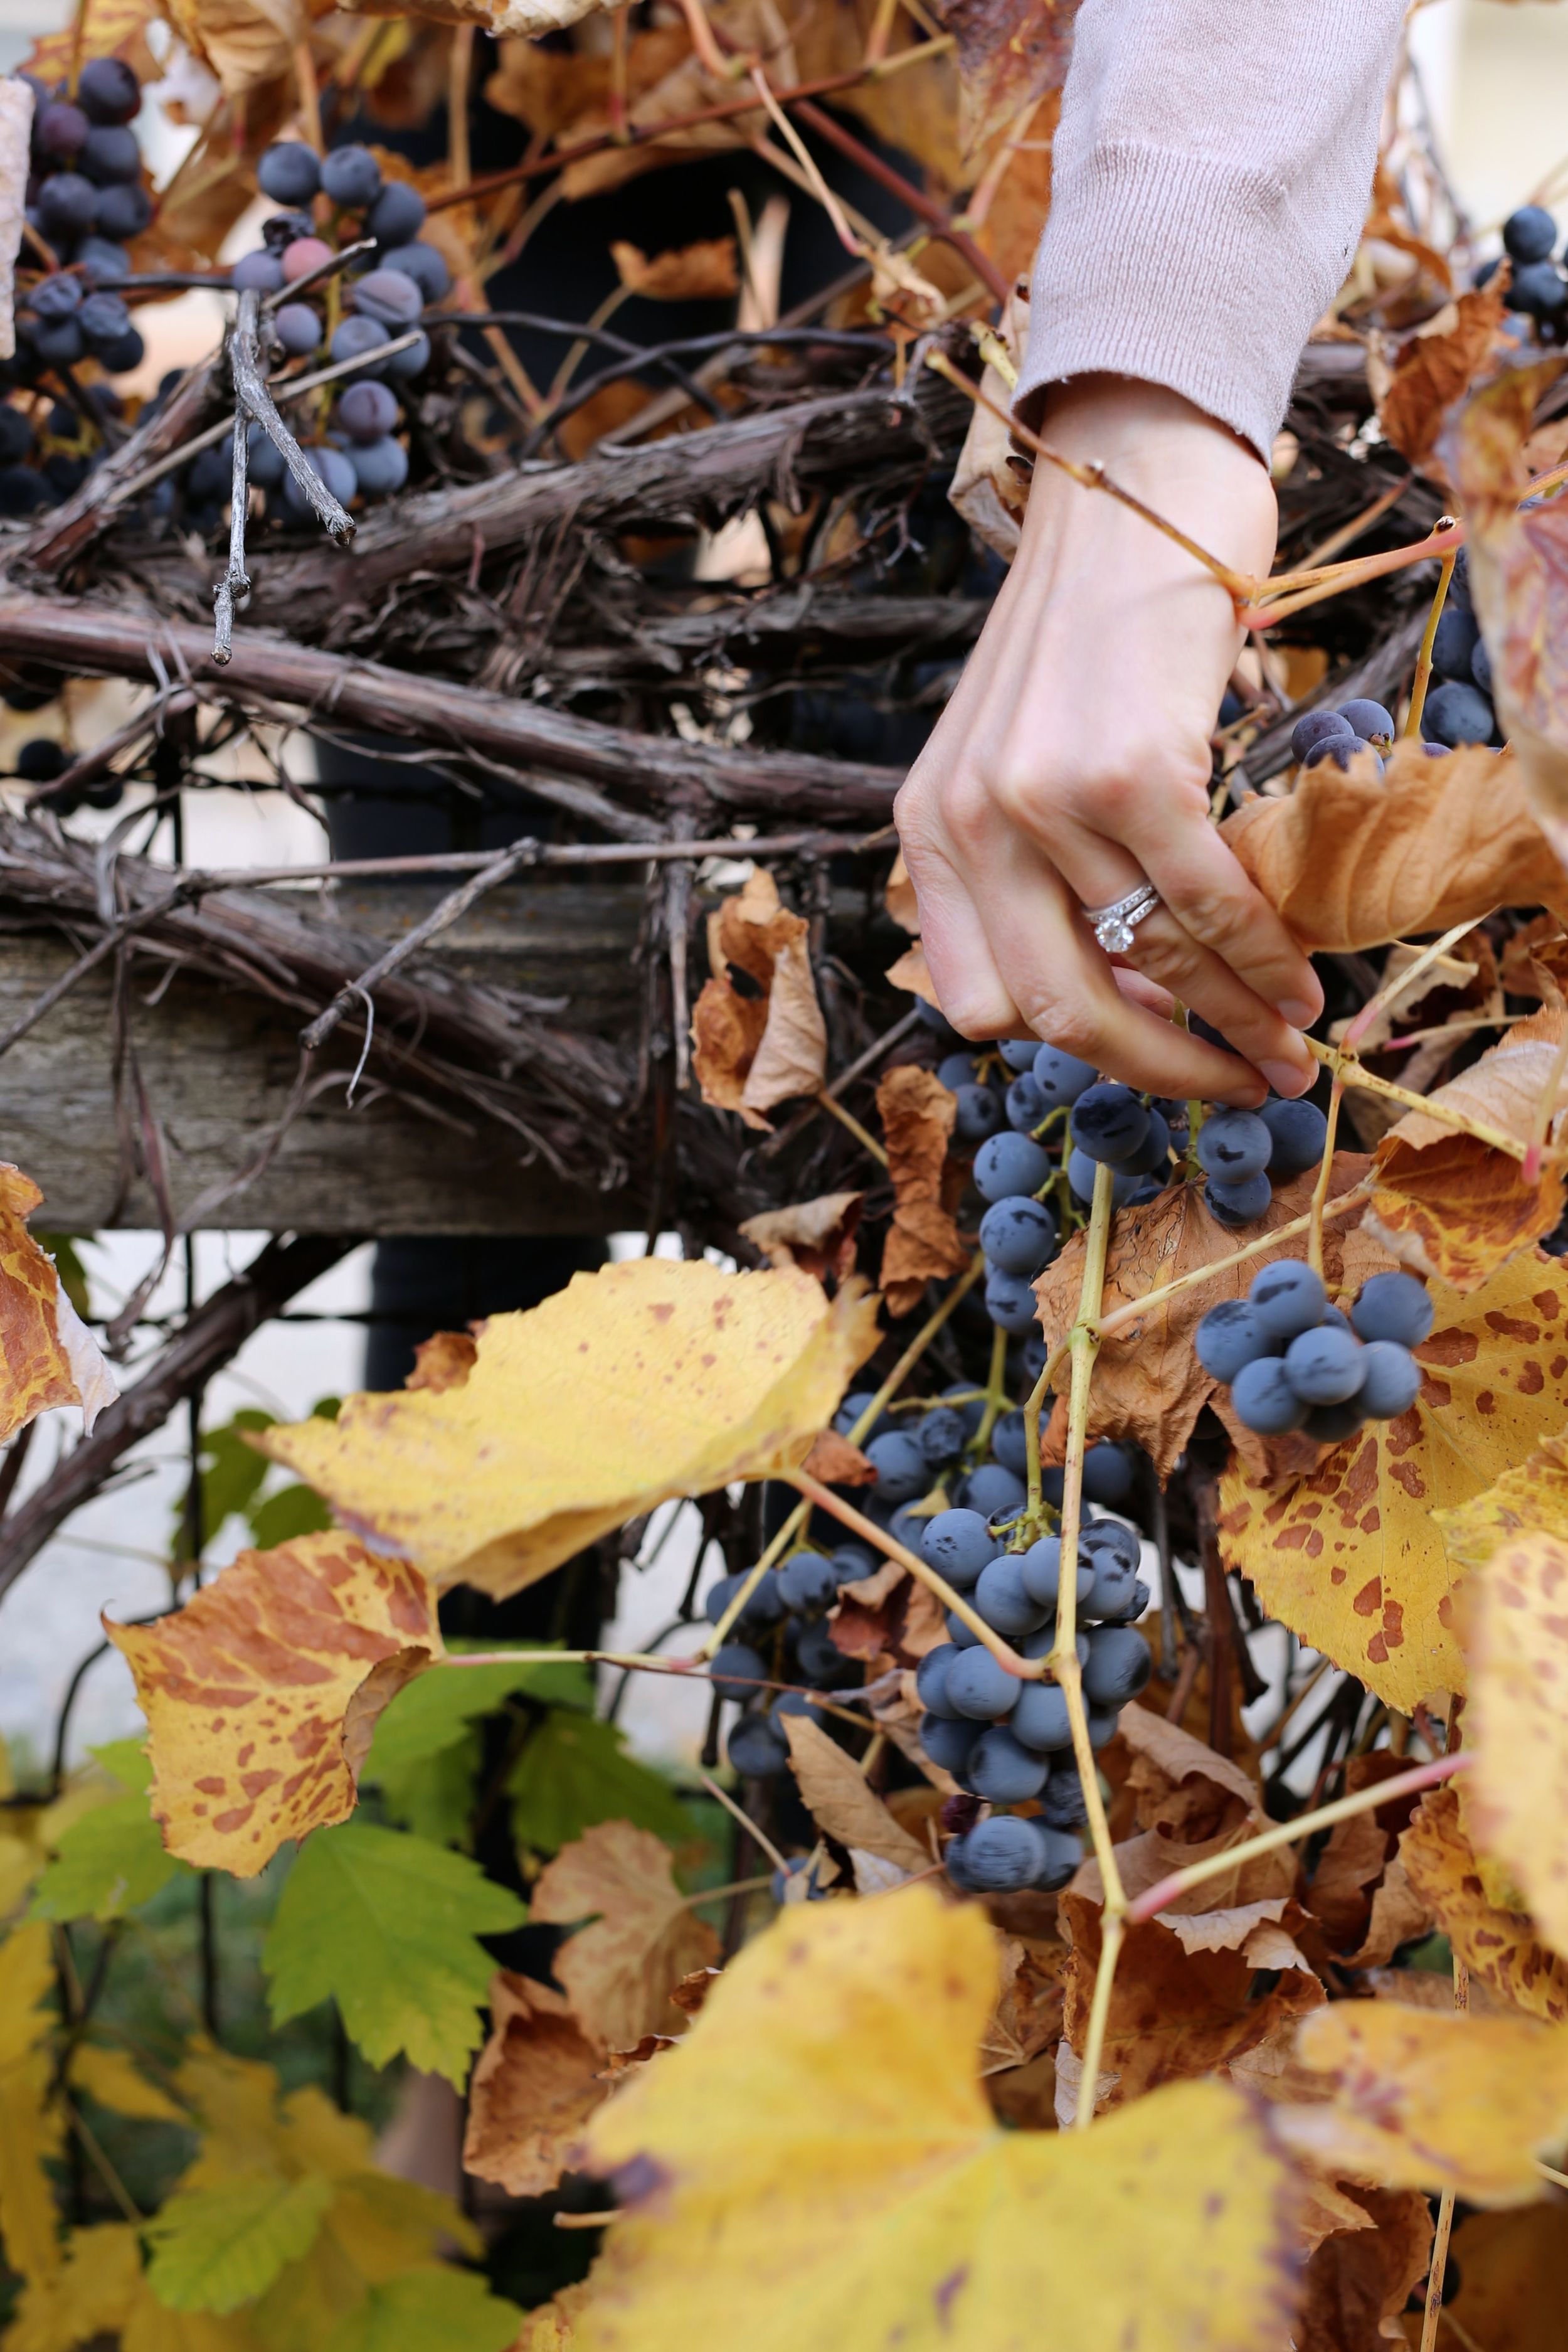
But there are indeed some silver linings to the end of the season. The leaves have now all shriveled on the vines (products of dwindling temperatures and two lightening-fast freezes over the last month), and it seems almost unfair how easily one can see exposed fat bunches of grapes. You would only need to stand next to the vine with your eyes closed and reach towards it to feel the hundreds of fruits waiting to be picked. We moved up and down the fence, gently snapping stems, greedily dropping the grapes into bags that quickly became heavy and juice-stained. We stopped after twenty minutes, embarrassed that maybe we had taken more than our share and already realizing that we had no plans for the poundage now in our possession. But I daresay that, had you visited the vine after we left, you would have been distracted by the remaining fruit and would never have known we were there.

If you’ve ever looked at recipes involving grapes, you might wonder why some specifically call for Concord grapes. I think experiencing their flavor is the only way to truly understand the reasoning. They are so very… grapey. Eat one (if you haven't already) and I think you’ll agree. I have heard people say that they just do not like Concord grapes, and while I enjoy them, I understand how they might feel that way. They are a gamey fruit, with a sharp, unmistakable flavor and robust, matte skin. We have small vine in our own garden, next to a separate vine of a pale green grape (Thomson Seedless, perhaps?) that offers tiny fruits with delicate skins; while the Concord grapes are almost offensively flavorful, eating the lighter grapes is akin to biting into bubbles of perfume. They are the suckling pig to the Concord’s wild boar, and more of a crowd pleaser, I think. But they do not hold up well to cooking, and are best consumed off of the vine (or out of the bag).

If you cannot find Concord grapes or don’t want to use them, a seedless red variety will do well here. Use grapes that are relatively firm when gently squeezed; aging grapes  that are beginning to wrinkle will give you more of a raisin effect when baked. If you choose to use a seeded variety and remove the seeds yourself, give yourself an extra half-hour to do so and only serve this bread to people you really like.

 Concord Grape and Rosemary Focaccia
Adapted from Ripe, by Nigel Slater - makes 1 loaf
(Richard would like you to know that this is one serving, though Nigel claims it can serve up to eight)

3 1/4 cups white bread flour or all-purpose flour
1 teaspoon fine sea salt or table salt
1 tablespoon white sugar
2 teaspoons active dry yeast
1 1/2 cups warm water (105-115˚F or just barely warm to the touch)
4 tablespoons olive oil, divided
14 oz concord grapes, halved and seeded, divided
1 tablespoon pearl sugar
large pinch flaky sea salt, such as Maldon
1 teaspoon finely chopped rosemary
little confectioner's sugar


Line a sheet pan with parchment paper and set aside.

Combine the flour and salt in a large bowl.  In a small bowl, mix the yeast and sugar into the warm water, and set aside for 5 minutes (this is called proofing, and allows you to make sure that your yeast is alive).  You should start to see little bubbles on the surface of the mixture after a few minutes; this means the mixture is active. (If you don't see bubbles, your yeast may have expired, or your water may have been too hot.  Check your yeast's expiration date, and try again with new yeast and fresh water).  Once your yeast has proofed, add the mixture to the flour and salt along with 1 tablespoon olive oil, stir with a wooden spoon, and turn out onto a generously floured board and knead lightly for 5 minutes.

Once the dough feels elastic and "alive," put it into a lightly oiled bowl and cover with a damp tea towel (this creates a humid environment to help support yeast activity and keep the dough from drying out) and set in a warm place to rise.  It will take approximately one hour to double in size.  (If you haven't already prepped your grapes, now is an excellent time to do so!)  Once the dough has doubled, punch it down gently to release some of the air.  Add half of the grapes to the dough (while still in the bowl) and gently knead them in until they are evenly distributed.  Tip the dough out onto the parchment lined pan, and shape into a flat circle.  Pock the surface with your fingers, like you are playing piano on the dough, and scatter over the remaining grapes.  Cover the dough with the tea towel and return to a warm place to rise.

Preheat the oven to 425˚F (220˚C).  Once the dough has expanded to almost twice its size, drizzle over the olive oil, and scatter with the pearl sugar, salt, and rosemary.  Bake in the middle of the oven for 30-40 minutes, until well-risen and golden brown.  The focaccia should feel springy when pressed.  Leave to cool slightly before dusting with confectioners' sugar.  Cut into thick wedges and serve warm.

Notes on making this ahead of time:  Focaccia is best eaten within a few hours of baking, and will lose its magic when stored overnight.  If you cannot complete all of the steps in a single day, make the dough, place in the oiled bowl, and store, covered, in the fridge to rise overnight.  Let the dough come to room temperature for 1/2 an hour in the morning before kneading in the grapes and shaping it for the second rise.  You may again store the dough in the fridge for the second rise if necessary, letting it sit out of the fridge for 1/2 an hour before baking.

a late september hike + a cake

autumn, desserts, vegetarianFieldandForestComment

Granted I haven't lived in Utah for very long, but I feel confident in saying that each year there is a day, one day, where the weather makes a drastic and complete shift from summer to fall.  Saturday was that day, where we had thunderstorms and constant rain and fog (which made me both pine for the northern California coast and feel very at home here), and I found myself in the midst of it all, hiking alone across a mountain.  The mist which crept across the rocks and down the slope was dramatic and terribly beautiful, the kind of beauty that tightens my chest and makes me aware of how brief and small my presence is on this planet.  I took as many pictures as I could before my hands turned to ice, then drove down the canyon with Agnes Obel through the rain on a road tucked away in clouds.

Feeling that kind of insignificance has positive effects; it makes me subconsciously more deliberate and thoughtful in my decisions and more appreciative of the things I am fortunate to have in my life.  I felt so lucky to have seen the aspens changing color (something I love to see that we missed last year while traveling), and very happy to then go home and put on a pair of fuzzy socks and sit and drink tea on the futon while listening to the thunder outside.

And then I made a cake, because why not?

Rosemary Olive Oil Cake
adapted from An Everlasting Meal, by Tamar Adler

8 eggs
1 1/2 cups sugar
1 2/3 cups olive oil (I used extra-virgin)
4 tbsp finely chopped rosemary
zest of one lemon, preferably organic
3 cups all-purpose flour
2 tbsp baking powder
1 tsp kosher salt
powdered sugar, for garnish (optional)
mascarpone or ricotta cheese, for serving (optional)
sweetened whipped cream, for serving (optional)
honey, for serving (optional)

Preheat the oven to 325˚F.

Grease a bundt pan with butter, then with flour, tapping out excess.  Beat the eggs for 30 seconds.  Slowly add the sugar and beat on medium speed until mixture is quite foamy and pale, about 3 minutes.   With motor on slowly drizzle in olive oil, then mix in the rosemary and lemon zest.

In a separate bowl, combine the flour, baking powder and salt.  On low speed, gradually add the flour mixture to the egg mixture and beat just until combined and no lumps.  Pour into prepared pan.  Bake for 45-50 minutes in centre of oven.  Cake should be done when toothpick inserted comes out clean and cake should look golden and spring back when touched.

Let cool in pan for 5 minutes then tip out onto cooking rack.  Dust with icing sugar and eat as is, or with mascarpone cheese or sweetened whipped cream. Makes a rather large cake, enough for 10 servings, at least.