FIELD & FOREST

camping

roasted veggie tacos + a video!

autumn, dinner, lunch, main dishes, vegan, vegetarian, winterRachel SandersComment

So remember a little (er, long) while ago when I said you'd be getting a taco recipe soon? Well, rejoice! Soon is now.

This is one of my favorite recipes. And, it's vegan! You'd never know! I actually forgot it was vegan the last time we made it until halfway through my second taco.

That's actually the kind of vegan cooking I prefer. We're not vegan, but we really don't eat meat more than once or twice a week, if that. We save the meat for dishes that really need it, like sausage bolognese and meat lasagna and roasted chicken (not quite sure how one would make this without the chicken), and focus on the vegetables the rest of the time. I will probably always eat this way, mainly because I have never met a vegan lasagna that can hold a candle to normal lasagna (mainly because I have never met a vegan cheese that can hold a candle to cheese).

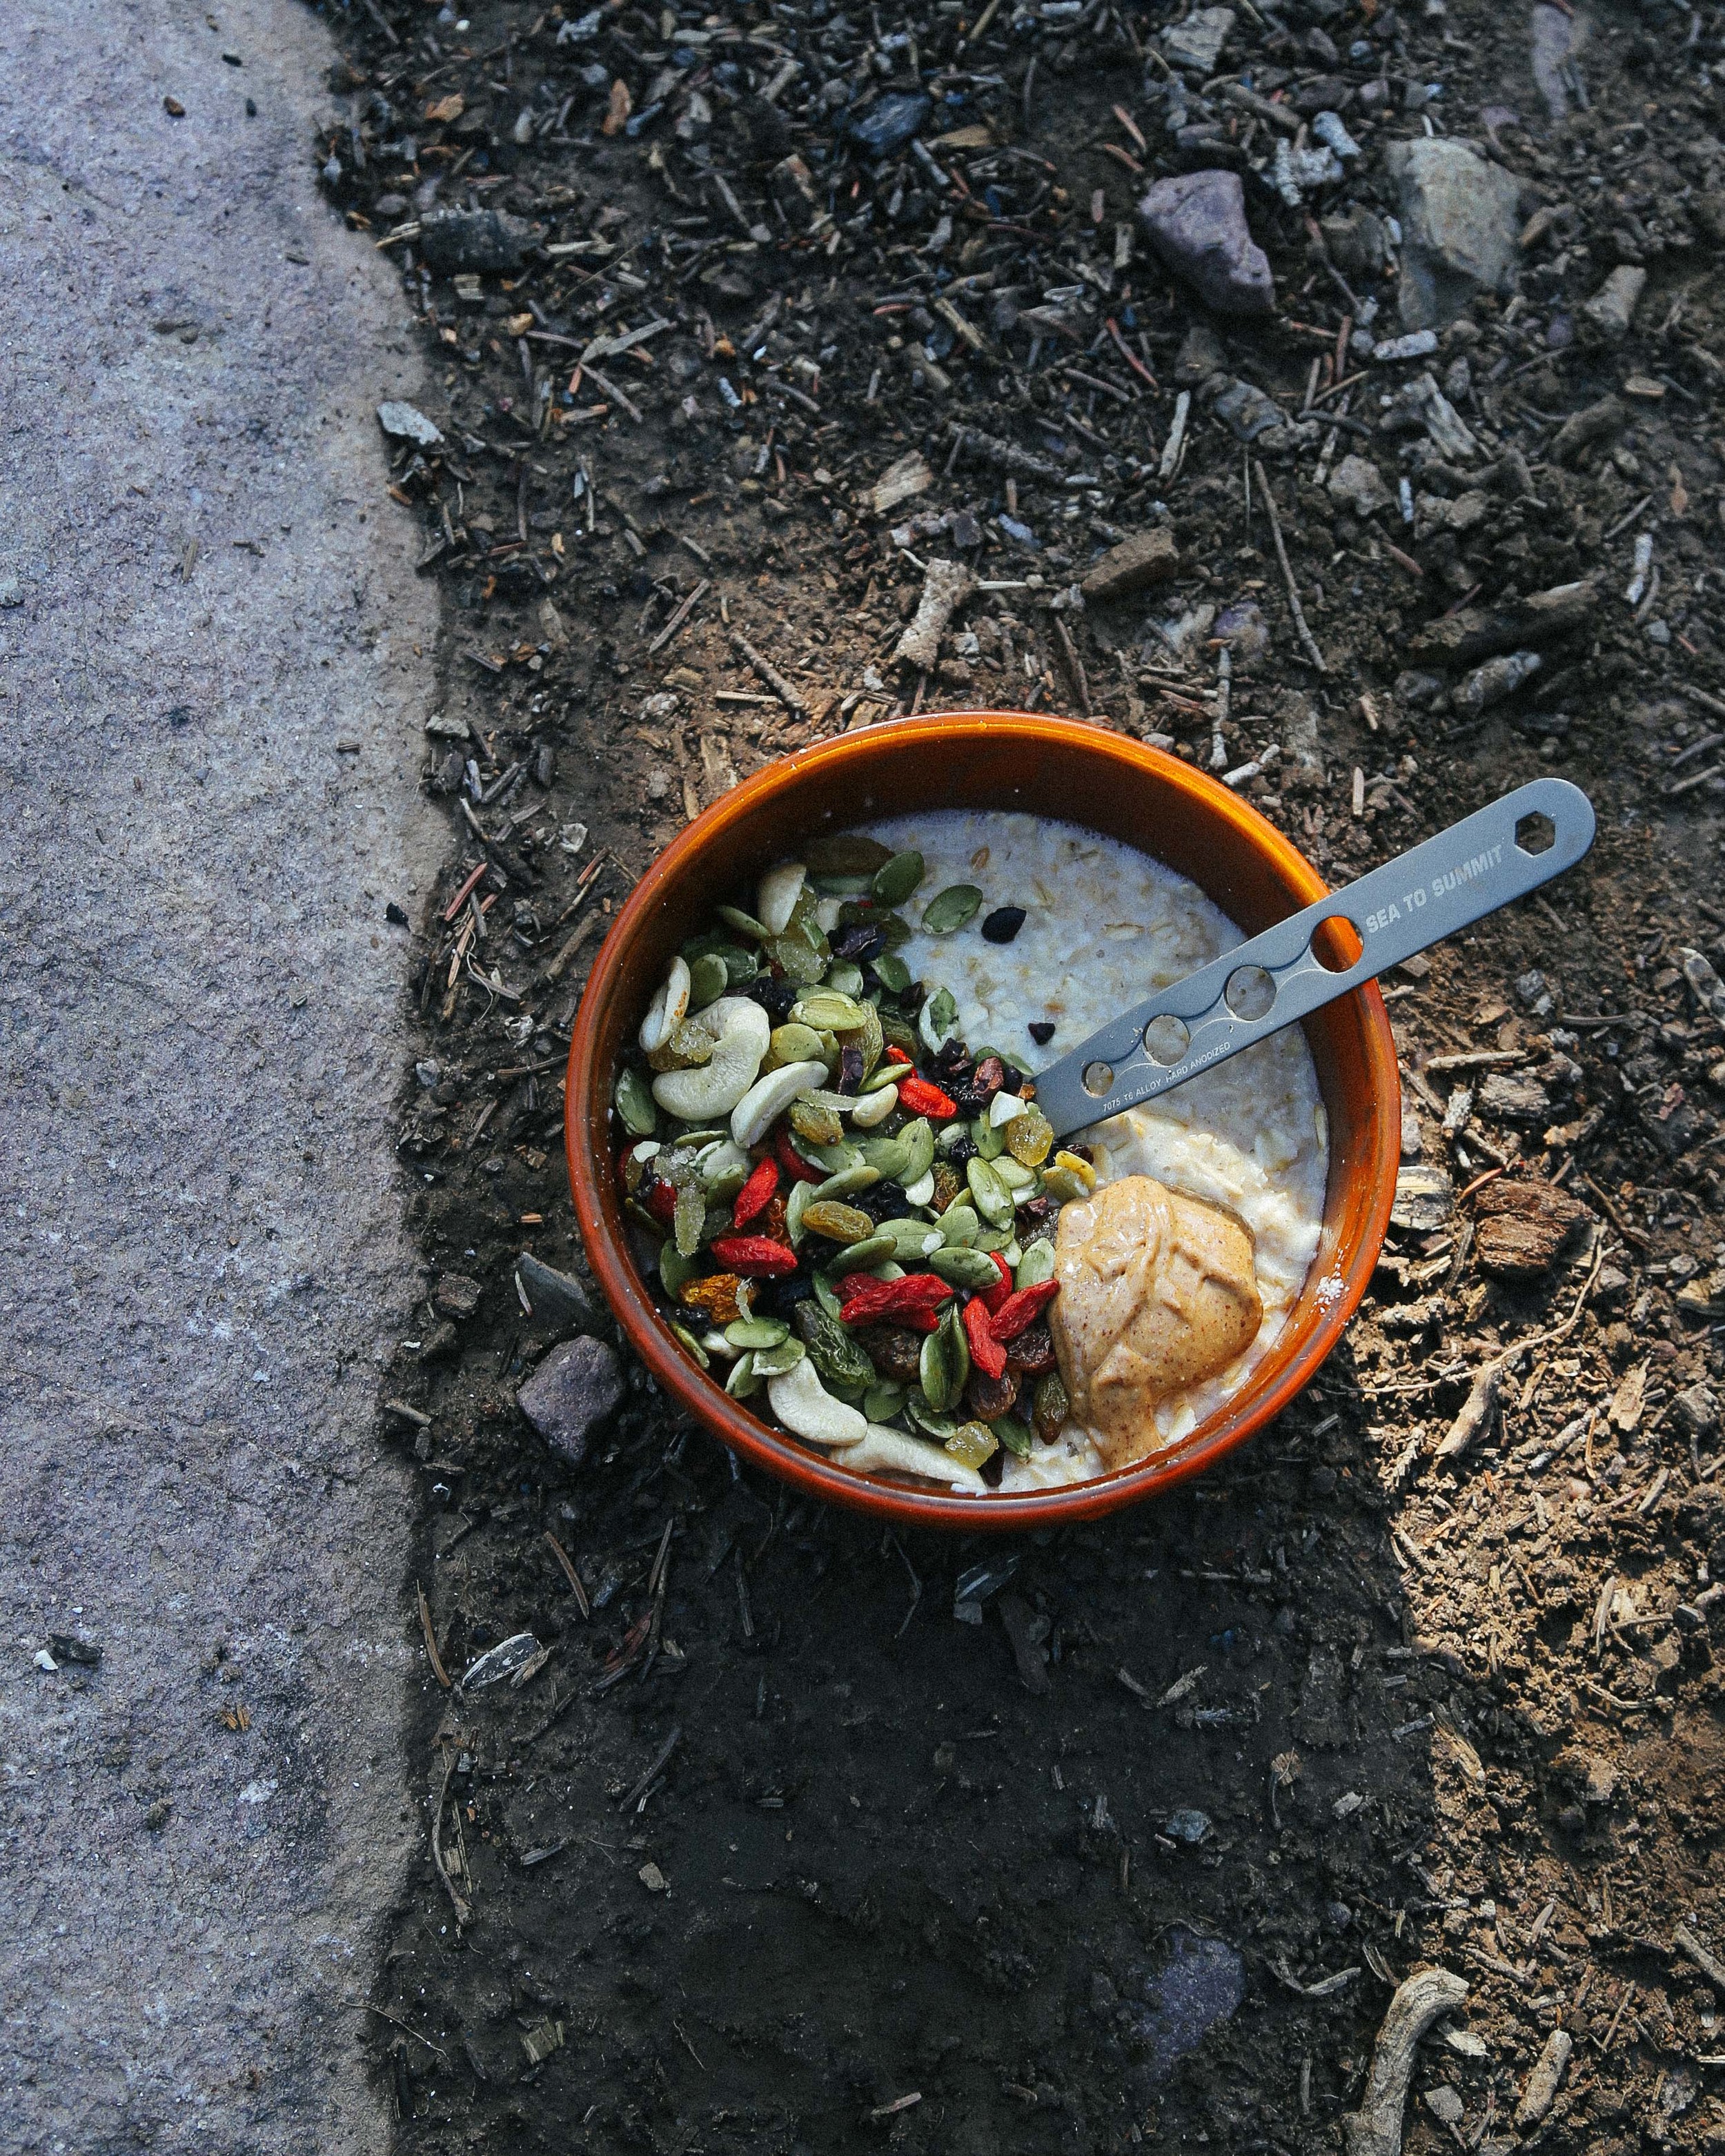
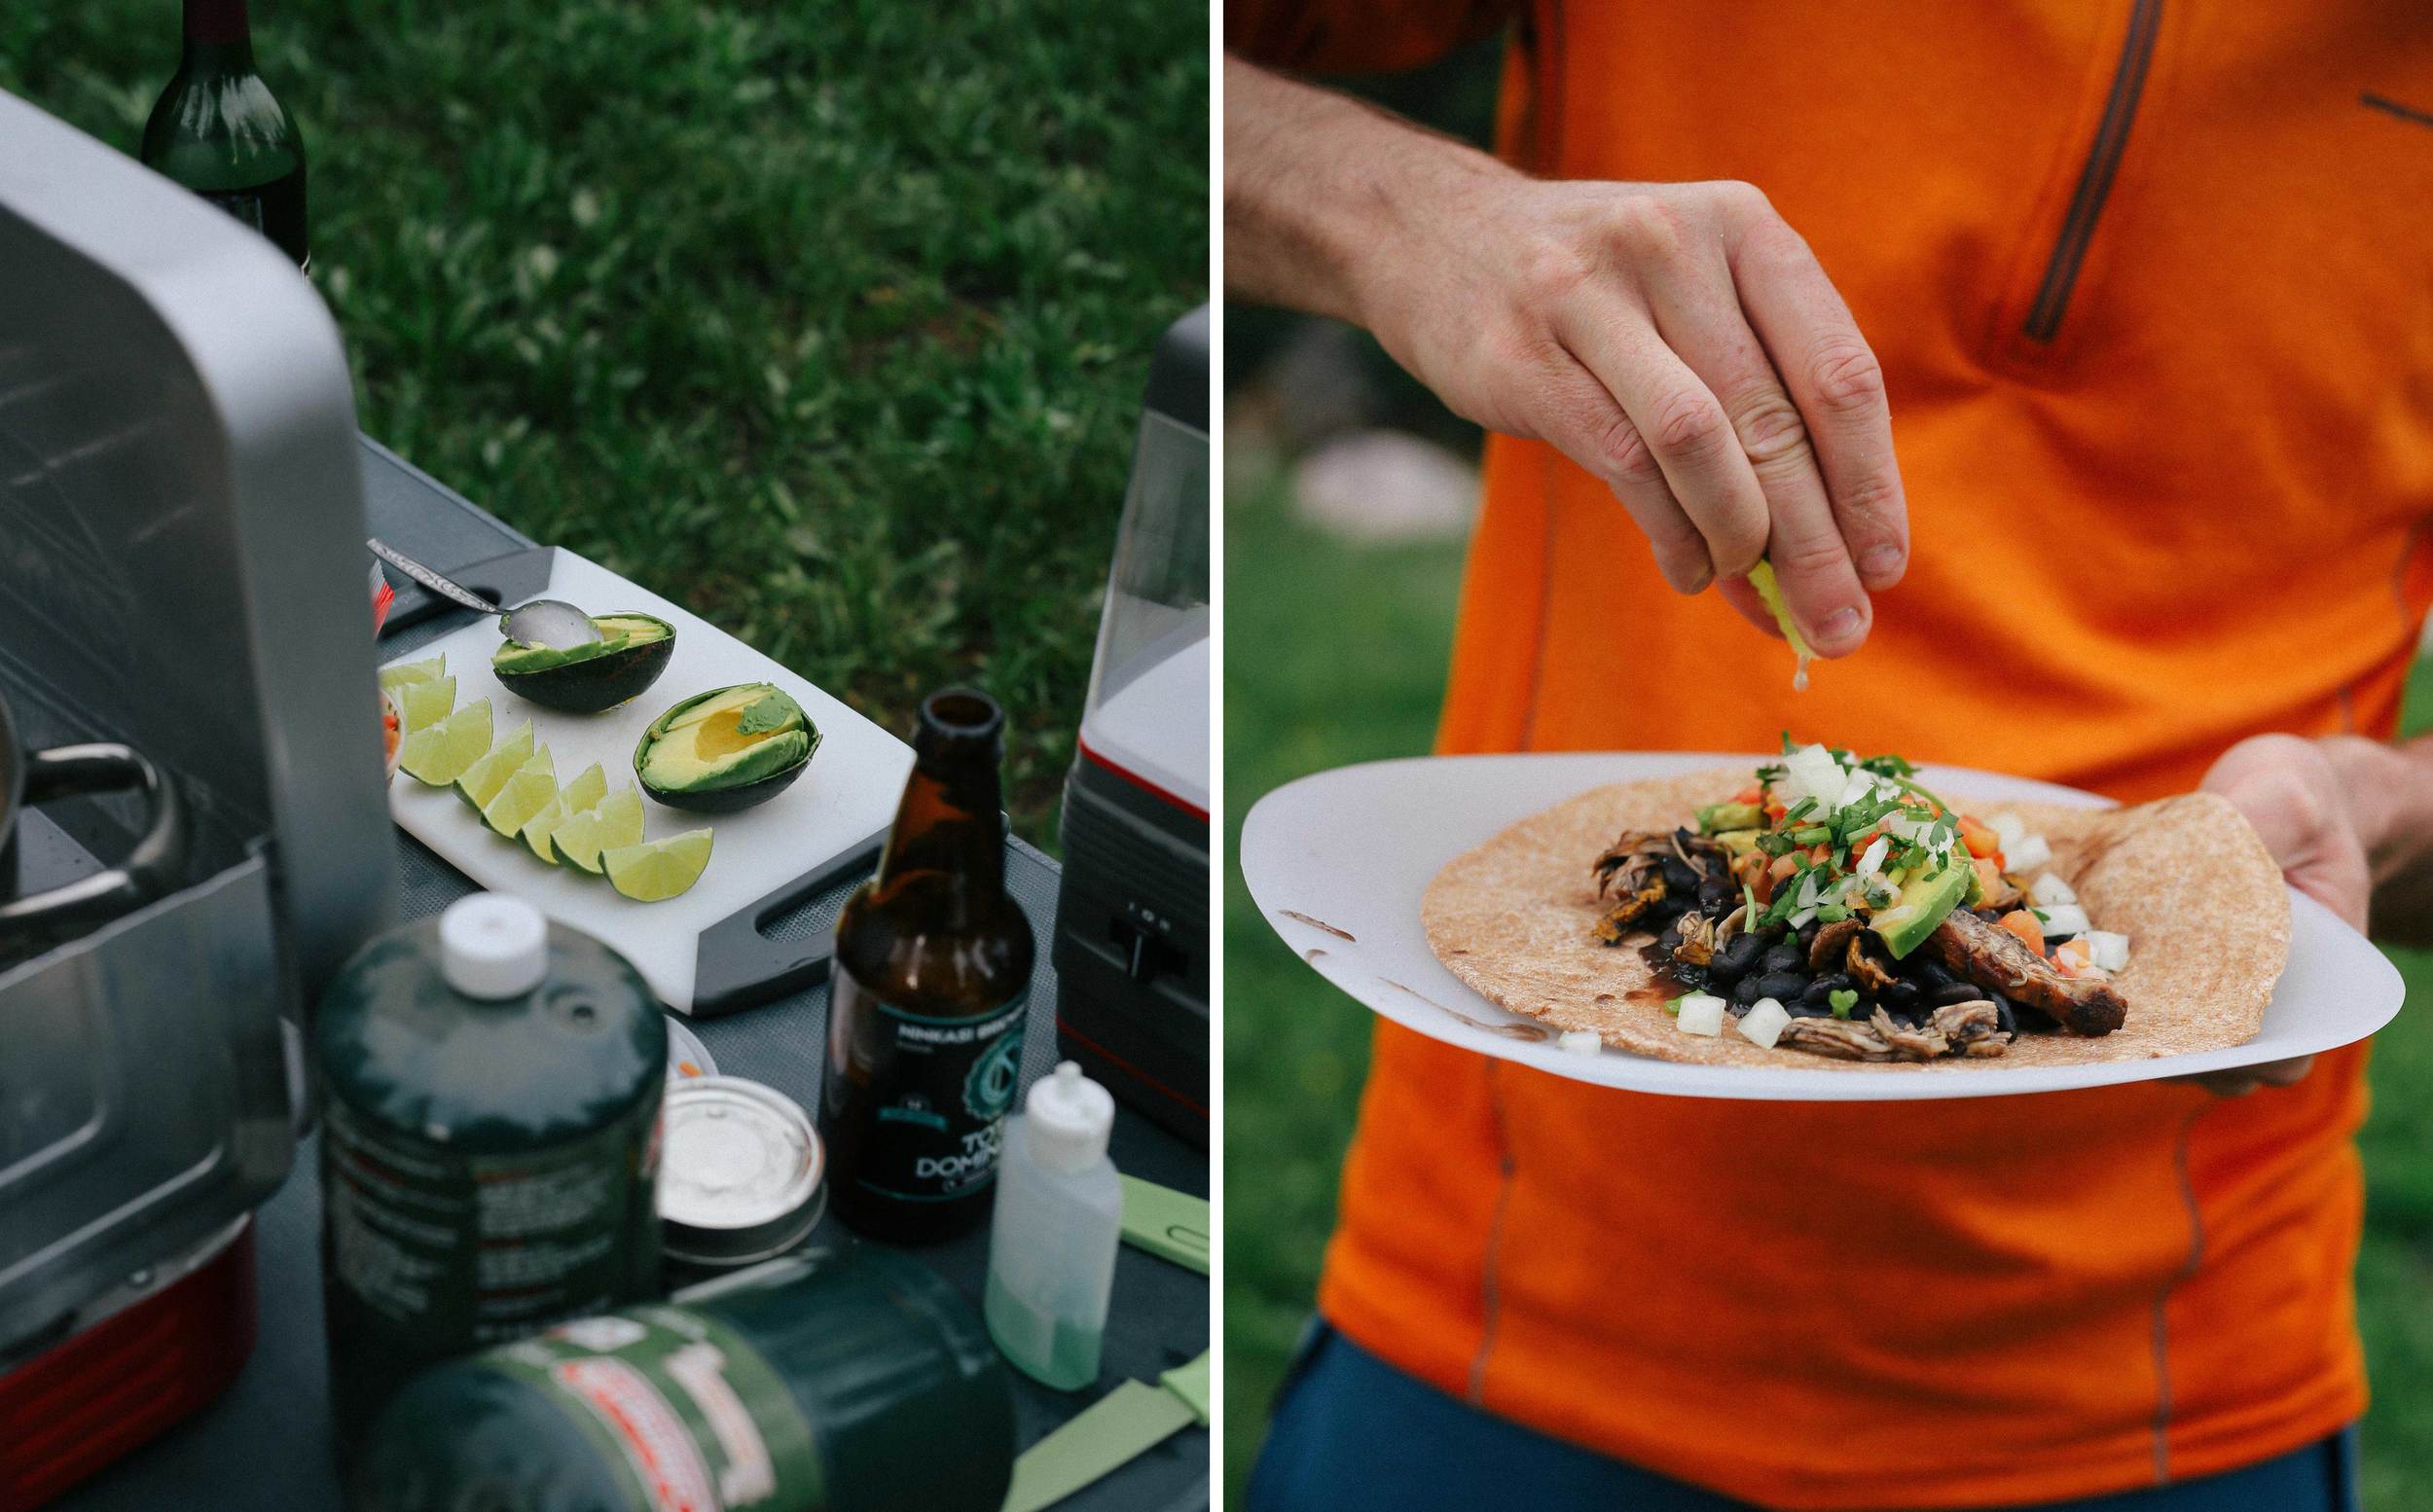
My friend Andrew and I made this video back in January (note my pre-spring skiing alabaster complexion), and then I promptly sat on it for a number of months while moving/working/traveling/being a bum. So now that squash is back in season, it's high time I made good on my taco promises and gave you this recipe already, especially since it's ideal camping season in most parts of Utah. Even though I roast the veggies in the oven and cook the kale on the stovetop, the ingredients for these tacos are robust enough that you can make them ahead of time, pack them in your cooler, and reheat them in the backcountry with no discernable changes in quality or texture. They've been a featured item on more than one trip, and since getting fresh veggies in our tummies while camping is sometimes an issue for us, I'm always super happy when these are part of the rotation.

(Some of you are going to balk at the homemade tortillas thing, since that is admittedly a more time-consuming element of these tacos. I mean, I like these tortillas a lot, but you don't have to make them if you don't want to. I'll still be your friend. And even I don't bother with making the tortillas when we take this camping, mainly because we'll eat more than I can practically make. But seriously, do make the orange sauce, because it is like liquid crack and you can use it on your eggs/chips/burgers/veggies/significant other, so you'll definitely use up the full batch.)

Huge thanks and the biggest of bear hugs to Andrew for shooting this video with me and for helping me to eat all of the tacos afterward! Do yourselves a favor and check out his other work at andrewjamesfilm.com.


a few good squash (I used 1 large butternut and two delicata, but feel free to use whatever densely-fleshed squash is your favorite)
1 pound carrots
olive oil
1 bunch lacinato (dino) kale or Red Russian kale
kosher salt

TACO ACCESSORIES - tortillas, orange sauce, chopped cilantro + white onion, sliced avocado, toasted pepitas

Peel the squash (delicata squash can be unpeeled), remove any seeds, and cut into 1/2-inch cubes. Peel the carrots and cut into 1/2-inch thick rounds or half-moons. Place the veggies in a single layer on two baking sheets, drizzle with olive oil, and toss lightly with your hands to evenly coat. Place both baking sheets on separate racks in your oven, and turn the oven temperature to 400˚F. Roast for 20-30 minutes, rotating the sheet pans once, until the edges of the veggies are becoming crispy and the insides are custardy.

While the veggies are roasting, stem, chop, and rinse your kale (do not dry it). Heat a cast-iron pan over a medium flame. Drizzle a tablespoon of olive oil into the pan and let heat for a few seconds before adding the kale. Sauté the kale until it begins to wilt (the water from rinsing will help the kale to steam and break down). Add a pinch of kosher salt, and continue to cook for another 5-10 minutes, until the kale is soft and easy to bite through.

Remove the vegetables from the oven, sprinkle with kosher salt, and add to the pan with the kale. Set aside while you heat the tortillas, and gently reheat if necessary before serving.


ORANGE SAUCE (makes 2 cups)

Note: this recipe is inspired by both a salsa from Tacolicious and one from the beloved Q'ero in Encinitas, CA.

Turn your broiler to high. Lay the onion slices in a single layer on a baking sheet, and place under the broiler until they begin to blacken on one side, about 5-10 minutes.

While the onions broil, heat a heavy bottomed skillet over a medium flame and add a couple of teaspoons of canola oil. Add the chiles de arbol and the garlic cloves to the pan, and cook until the chiles are beginning to turn dark, the garlic is beginning to turn golden, and the whole thing smells smokey and delicious (this only takes a few minutes if that, so keep your eye on the pan).

Remove the chiles and garlic from the heat, and pour into the cup of an immersion blender or the carafe of a stand blender. Add the broiled onion slices, and pour about 1/4-1/3 of a cup of boiling hot water over the vegetables and let sit for 5 minutes (this will help them soften for blending).

Add the aji amarillo purée or tomatoes, the vinegar, and a large pinch of salt to the carafe and blend until puréed (it's okay if there is still a little bit of texture). Add the agave nectar and oil, and blend again until thoroughly mixed. Taste the sauce and add more vinegar/salt/agave/oil as necessary to get your desired balance of flavors.

The sauce will keep, refrigerated, for up to two weeks.

1 red onion, peeled, halved, and cut into 1/2-inch thick slices
canola oil or other neutral oil
1/2 cup dried chiles de arbol
6 large cloves garlic
boiling hot water
1/3 cup aji amarillo purée or two medium tomatoes
1/3 cup apple cider vinegar
kosher salt
1 tablespoon agave nectar (syrup) or 1 tablespoon sugar
1/3 cup canola oil


BLUE CORN TORTILLA (makes 8-12)
adapted from King Arthur Flour

Combine the flour and cornmeal in a medium bowl, and add the oil, mixing to combine. Dissolve the salt in the water and add to the bowl, mixing to combine with your hands or a wooden spoon.

Turn the mixture out onto a lightly floured surface, and knead briefly until the dough is smooth and no longer sticky, adding a little more flour to the board if necessary. Divide the dough into 8-12 equal pieces (depending on how large you would like your tortillas) and roll each piece into a ball. Set on a plate or baking sheet, cover with a damp dishtowel, and leave to rest for 30 minutes.

Working with one piece of dough at a time, leaving the rest covered, press the dough ball using a tortilla press (if you don't have a press, which I don't, place the dough ball on a large piece of plastic wrap, fold the wrap loosely over the ball, and press using the bottom of a dish or a pan). Place pressed tortillas on a plate and cover with a damp dishtowel while you work with the rest of the dough.

Once the tortillas have all been pressed, heat an ungreased skillet or griddle over medium heat and line a dish with a dishtowel or large piece of foil. Cook the tortillas for 1-2 minutes on each side, until the color is light with some golden spots. Remove cooked tortillas to the lined dish, and keep covered with the towel or wrapped in foil while the others cook.

Serve immediately.

1 1/3 cups all-purpose flour
2/3 cup blue cornmeal
4 tablespoons canola oil
1/2 teaspoon kosher salt
1/2 cup + one tablespoon water

antioxidant power oatmeal

breakfast, autumn, vegetarian, vegan, winterRachel SandersComment

This isn't exactly a recipe, but it's my favorite thing to eat for breakfast when camping or backpacking (this is what we ate on the Amethyst Basin backpacking trip). Oatmeal gives me the warming boost I want for my belly (and my hands) in the morning, and it gives me enough energy to carry me through until a late-morning snack or lunch on a high-activity day. Adding in trail mix with lots of seeds and berries makes it flavorful and texturally interesting, while the nut butter makes it creamy and luxurious and even more stick-to-your-ribs-y.

There aren't solid quantities in this recipe because you should make as much or as little as you want to eat, and add as much and as little trail mix/nut butter as you want to have! The world is your oyster.


ANTIOXIDANT POWER OATMEAL
Serves 1

rolled or instant oats
hearty trail mix (see below for my favorite add-ins)
nut butter


Put about 1/2 cup of oats into a bowl. Pour some boiling water over the oats (a lot or a little, depending on how thick you like your oatmeal) and let sit for a minute or two to soften the oats.

Stir in as much trail mix and nut butter as you want. Now, eat it!

My favorite trail mix for this breakfast usually contains most or all of the following:

pumpkin seeds (pepitas)
goji berries and/or cranberries
currants and/or raisins
walnuts and/or cashews and/or almonds
cacao nibs
candied ginger pieces

campfire blueberry cobbler

breakfast, desserts, summer, sweet, vegetarianFieldandForest4 Comments

I wish I could tell you that this camping trip was all sunshine and climbing and cobbler, and it was, but it was also mosquitos (in a BIG way) and now I am a human-shaped pile of itch. Our lovely, perfect, secluded BLM camping site, with its flat, soft ground, makeshift fire pit, and expansive field and mountain views, was also the site for mosquito Bonnaroo Summer 2015, and we were Mumford and Sons caught without our chicken suit and wedding dress. Not a moment had passed since we opened the car doors before we were enveloped in a wispy, humming cloud of bloodsuckers, more at a single time than I have ever before seen in my life.

Ohhh, I wish I were kidding.

Lucca, of course, couldn't have cared less about the mosquitos, and Richard is a particular breed of hardcore, so the two of them went about doing their various camp arrival activities (rolling in deer poop/setting up the tent, respectively), while I ran around the campsite in my ski jacket waving my arms and yelling and trying desperately to avoid being bitten. I was unsuccessful. But eventually a slight breeze picked up and the temperatures dropped and the majority of the mosquitos hurried away to wherever it is mosquitos go when it gets windy and cold, and we had a very lovely time eating burritos and drinking beer/wine and enjoying one of the best campfire desserts we've ever made.

So, here's the thing: I honestly don't know whether to call this a crumble or a cobbler, as there is no liquid in the topping (which I think is supposed to make it ineligible to be a true cobbler), but there was a definite cakey layer under the crispy, pebbled top which seemed out of place for a crumble. And the recipe I adapted was originally from a topping for fruit crisp, but I'm pretty sure that a crisp isn't supposed to be cakey at all. So, even though I'm categorizing this as a cobbler, I don't know what to call this Franken-fruit dessert! But it was delicious, whatever it was. And if you are someone who oscillates between a preference for cakey things and crumbly/streusel-y things, then this is definitely the happy medium you've been waiting to find.

As we were unable to finish the cobbler between the two of us that evening, we just stuck the lid on the Dutch oven when we were finished and ate the leftovers over yogurt for breakfast the next morning. I HIGHLY recommend you do this as well, should you find yourself with leftovers of your own.

A few things you might be wondering/thinking:

Where are you in these photos? We were in the Uintas, a northern Utah mountain range, and the largest mountain range running east-to-west in the contiguous United States. It includes King's Peak, the highest mountain in Utah at 13,528 feet, plus over 1,000 lakes (really, really). It is a great place to hike, camp, ski, paddleboard, kayak, play with dogs, and escape the oppressive summer heat of the Salt Lake valley. It is also barely two hours away from downtown SLC! Even though we camped on BLM land, there are a number of (very popular) campsites in the area. You can check out campsites, permit/pass information, weather forecasts, and more here.

Where did you get that nifty Dutch oven? Richard got this Dutch oven from his parents for a past birthday. It is aluminum, and is light enough to take backpacking. If you're more into cast iron, Lodge makes a number of great Dutch ovens in a variety of sizes and styles that would be perfect for car camping. Make sure you get one with a handle that can swing up and over the lid of the Dutch oven for easy lifting and moving, or you are going to have a pretty interesting time maneuvering your lava-hot pot of cobbler out of the campfire.

How did you keep Lucca from running away from your campsite? Oh, there was definitely a moment when Lucca went on a mission to befriend a lone landscape photographer, and Richard had to hunt him down in the semi-darkness. And Lucca took himself on a short adventure to somewhere (I still don't know where) when I got up for an early morning pee, and I hollered for him for a good couple of minutes before he popped out of some bushes on the other side of the field next to our campsite. So, I suppose the answer is: we don't. He kind of likes to explore on his own when we're outside, and he almost always returns without our intervention. I guess I don't really have good advice, other than that we give him a few top-shelf treats and some cheese every once in a while (usually when he returns from adventuring), and I think he intuits that he'd be hard-pressed to find aged cheddar elsewhere in the wilderness.

(And don't you worry, Internet trolls, we wouldn't let him off the leash if he was a menace to other dogs/small children, and we leash him when we're in areas with a high-density of wild animals/cars/other people/watersheds.)

You left some stems on your blueberries when you made the cobbler!! Let's be clear that when you are getting attacked by hordes of mosquitos, de-stemming blueberries falls pretty low on your list of priorities. I just wanted to get the cobbler show on the road as quickly as possible. But to be honest, I didn't even notice any stems in the cobbler after it was finished! True story.

I want to know what's happening with that burrito-looking thing. Yeah! So we had a leftover chicken breast from the Gringo Chicken Tacos (I made a double batch the other day), so I shredded it and added it to some black beans which we heated on the camp stove. We put the chicken-bean mixture on whole-wheat tortillas, added some leftover chopped onions and cilantro, store-bought pico de gallo, and avocado slices, plus a squeeze of lime, and rolled everything up into burritos. They rocked.

Campfire Blueberry Cobbler serves 4-6 (or 2 with leftovers for breakfast)

For the topping:
1 cup all-purpose flour
1/3 cup packed brown sugar
1 tablespoon white sugar
1/4-1/2 teaspoon cinnamon (depending on how cinnamon-y you like your topping)
1 large pinch kosher salt (1/8 teaspoon)

Before you leave on your camping trip, combine all of the dry ingredients in a lidded container (preferably one that is large enough to also cut the butter into) and mix thoroughly. Pack with the rest of your food for the trip.

To complete your cobbler:
6 tablespoons butter, divided
4-6 cups blueberries (depending on how your preferred fruit-to-topping ratio... we used about 4 cups of berries)
1-2 tablespoons brown sugar juice of 1 lemon

Equipment: one 10-inch Dutch oven, a knife, a campfire with hot coals, tongs

Grease the inside of a 10-inch Dutch oven with 1 tablespoon of the butter. Add the blueberries, brown sugar, and lemon juice to the Dutch oven and mix with your hands to combine.

Cut the remaining 5 tablespoons butter into the container with the dry topping mixture. Use your fingers to pinch the butter into the flour mixture until the mixture looks like a blend of sand and small pebbles. Spread this mixture evenly over the blueberries, and place the lid on the Dutch oven.

Spread a single layer of hot coals on one side of your campfire, and place the Dutch oven over the coals. Use the tongs to carefully place about 10 additional coals (12, if your coals are on the small side) on the top of the Dutch oven. Cook for 30-40 minutes, rotating the Dutch oven 90-180 degrees every 5-10 minutes so the cobbler cooks evenly.

Remove the Dutch oven to a bare patch of dirt, and carefully use the tongs to place the coals from the lid back into the fire. Remove the lid from the Dutch oven to make sure that the cobbler is cooked, and let cool with the lid off (or ajar, if it is buggy) for about 5 minutes before serving.